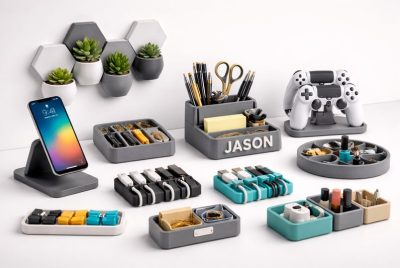
3D Printed Cherry: A Sweet Fusion of Art and Technology
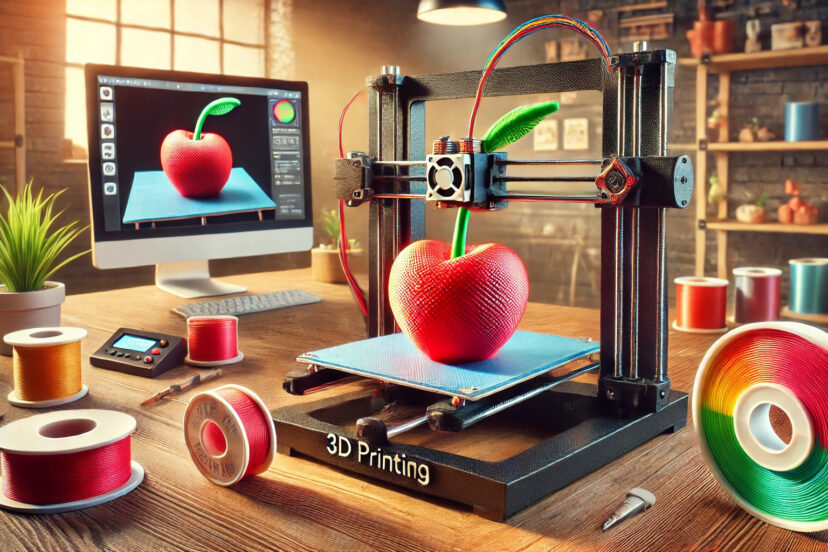
As you sit at your desk, you wonder… “what can I add to my cool collection of 3D-printed things?”. But then, you can’t think of one. Maybe your imagination is absent today or you just thought you already printed everything you want. Well, why not make a 3D printed cherry? Imagine creating a tiny, gleaming figure of a cherry not crafted by nature but by yours truly with the help of a reliable printer! So, if you’re cool with it, let’s talk about how to craft one for you.
Why Print a Cherry?
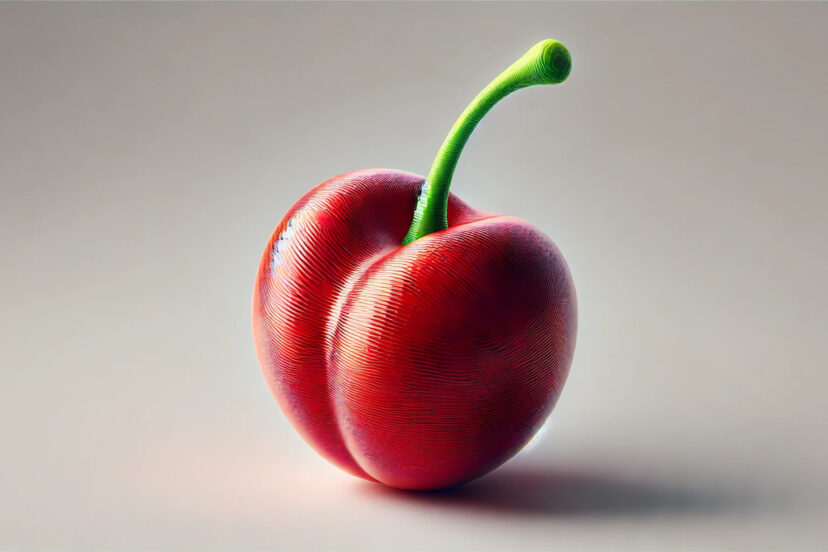
Okay, you might be asking… “Why would anyone want to print a cherry? Are you serious?”. Yes, I am bro! But I’m gonna ask you, why not? After all, you can create just about anything you can imagine with a 3D printer so I don’t think that’s a problem. Printing a cherry isn’t just making some fruit but rather what it symbolizes—a playful entry point into the vast world of 3D modeling and printing. Imagine your friends’ reaction when you show off a shiny red cherry (looking real and tasty!) that didn’t grow on a tree but was instead created by your own hands (of course with the help of your favorite 3D printer). You can even pull a prank on them because it looks so real!
A review of photogrammetry and photorealistic 3D models explains how detailed digital images are converted into highly realistic 3D objects. This technology allows for the creation of lifelike models, like a 3D printed cherry, enhancing educational and artistic experiences by providing users with interactive, accurate replicas of real-world items.
The Art of 3D Modeling
Did I convince you enough to make one? Alright, folks! To bring any object into the physical world through 3D printing, you first need a digital model. Don’t attempt to create one without a model or you’re bound to fail. This is like your blueprint, the soul of your creation. I guess you already know the importance of this since you created a couple of cool stuff before. But in case you’re a newbie, make sure to have a digital model. You can make one yourself or search online if you can’t do it on your own.
Choosing the Right Material
If you hope for the best outcome as much as possible, you need to choose the right materials for your project. The material you select can make your cherry glossy (as if it was picked from the tree) or matte like a sun-ripened fruit. PLA and ABS plastics are the go-to options for their ease of use, but if you’re after something that looks almost too real to be true, resin might be your material of choice. I prefer resin for this kind of project, like when I made a 3d printed superhero. I want them shiny you know! The right material can turn your printed cherry into a lifelike gem that’s sure to impress anyone who laid eyes on it.
Setting Up Your Printer
3D printer? Check! Design model? Check! Materials? Check! Now it’s time to set the stage. Your printer bed needs to be perfectly level, the filament must be loaded just right, and your settings should be adjusted to match the complexity of your model and the type of material you’re using. You really wanna make sure that your cherry will print smoothly and beautifully.
Printing the Cherry
Here’s where the real excitement begins—printing your sweet cherry! Hit the print button and watch the printer laying down material layer by layer, gradually building up the shape of your cherry. Honestly, it might take a while (from a few minutes to several hours) before the finished product but that’s fine! But as they say, patience is a virtue, and the reward is a cherry that’s as delightful as it is unique. Grab a cup of latte and sit back, relax while waiting. Why not think about your next project?
Post-Processing: Bringing Your Cherry to Life
When your cherry’s off the printer, it’s time to give it a “wow factor”. A few finishing touches to let your sweet fruit truly shine! Post-processing is what I’m always excited about cause that’s the time I feel like an artist (like Michaelangelo) making sure my craft looks excellent! Smooth out rough edges or apply a layer of paint to give your cherry that perfect realistic-looking finish. Hey, cherries are supposed to be round-like shaped, they don’t have sharp edges. Using a 3D resin printer? Clean and cure your print to ensure it’s ready to show off.
Adding a Personal Touch
Want to make sure no one swipes your cherry? Personalize it! I always add my initials somewhere in my project, like at the bottom part. You know, just to have it marked as mine. 3D printing is all about creativity, so don’t settle for a boring cherry. Give it a funky face or make it glow in the dark! Do whatever you want with it, it’s yours anyway. Show off that you’re the genius behind this cherry masterpiece.
Troubleshooting Common Issues
If your cherry’s looking a little off or not printing right, don’t freak out. It’s totally normal, especially if it’s your first time. Maybe your cherry is too big, or deformed or the layers just aren’t sticking. Deep breathe! It’s all part of the game, folks. Common issues include bad leveling, filament not feeding correctly, or software glitches. These have easy fixes, just look online and learn how to solve them. I’m rooting for you!
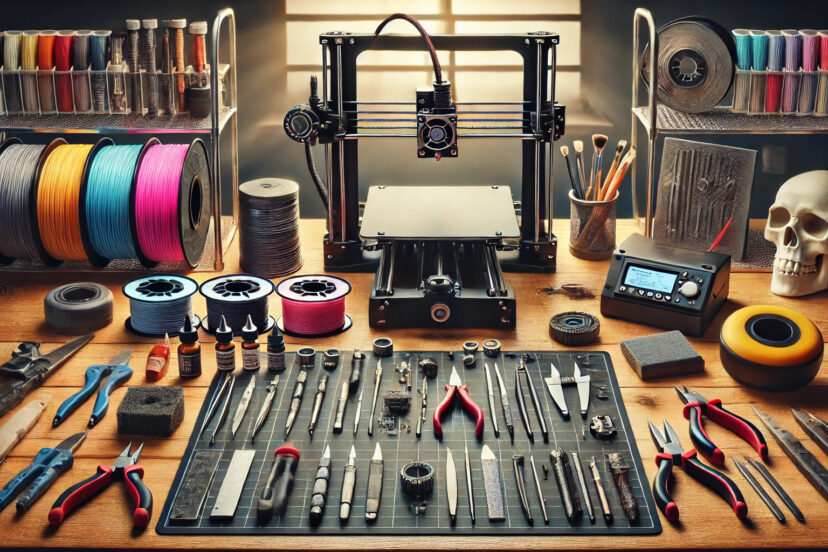
Essential Tools and Materials for Creating a 3D Printed Cherry
1. Creality Ender 3 V2 – It’s a reliable and budget-friendly option that’s perfect for small to medium-sized prints like a 3D printed cherry. The printer’s ease of use and community support make it a great choice for anyone new to 3D printing.
2. Autodesk Fusion 360 – Fusion 360 provides powerful features and is free for personal use under a hobbyist license.
3. Elegoo Water Washable Resin – This resin is excellent for creating high-detail cherry models with a glossy finish. Its ease of cleanup is an added bonus, making it suitable for beginners.
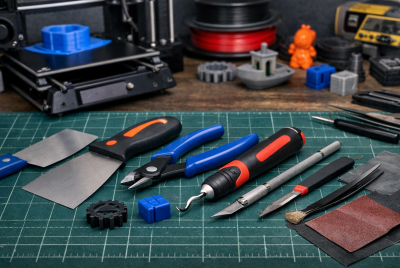
4. Sanding Sponge Set – Sanding sponges are ideal for refining the surface of your cherry, especially when working with PLA or ABS filaments.
5. Vallejo Acrylic Paint Set – Ideal for adding final touches to your cherry, like shading and highlights, to enhance realism. Acrylic paints are versatile and easy to use.
The Environmental Impact of 3D Printing
3D printing is awesome but we need to be mindful of our environment. Consider its impact on our planet. So, how do you print and make sure you’re not making Mother Earth cry? Use biodegradable materials like PLA. They’re made from renewable resources like corn starch, totally eco-friendly. On the other hand, materials like ABS are petroleum-based and not as gentle on the environment. Want sustainability? Don’t throw away used filaments and recycle them.
Showcasing Your Work
Don’t put away your creation behind the glass stand just yet! Show it off to the world! Take IG-worthy pictures, share them online, or bring your 3D printed cherry to a local maker fair. Sharing your work and inspire others to try their hand at 3D printing. Who knows? Your cherry might just be the spark that ignites someone else’s passion.
Tips for Beginners
If you’re new to 3D printing and don’t know where to even begin, I got you covered! 3D printing seems overwhelming but it shouldn’t. Start with something small and manageable—like our charming little cherry right there. Don’t be afraid to make mistakes (Common, we all make mistakes one way or another); they’re just part of the journey. Join online communities, watch tutorials on YouTube, and most importantly, don’t forget to have fun!
Summary
A 3D printed cherry can be a nice addition to your collection. Whether or not you’re a beginner (who doesn’t know what he’s doing) or an expert, by following these simple steps, you can create a masterpiece. A shiny, fresh-looking cherry you can absolutely share with the world. If you ever run out of cool ideas to print, just follow our blog for more tips! Kickstart your creativity now!
FAQs
1. What is 3D printing, and how does it work?
3D printing is a process that turns digital models into physical objects by layering material, one layer at a time, until the object is fully formed.
2. Why would someone want to 3D print a cherry?
Printing a cherry is a fun and educational project that’s perfect for beginners. It helps you learn the basics of 3D modeling and printing, and it’s also a great way to experiment with different materials and techniques.
3. What materials can be used to 3D print a cherry?
Common materials include PLA and ABS plastics, but you can also use resin or even metal for more advanced projects.
4. What are some common issues in 3D printing, and how can they be resolved?
Common issues include bed leveling problems, filament not sticking, and software glitches. These can usually be resolved by adjusting your printer’s settings or by troubleshooting the software.
5. How can 3D printing be made more environmentally friendly?
Using biodegradable materials like PLA or recycled filaments can help reduce the environmental impact of 3D printing.
