How To Create 3D Printed Molds for Resin, Soap & Candle Making
If you have been curious about 3D Printed Molds, you are not alone. They are one of the smartest ways to turn a simple design into something you can cast, pour, and reproduce again and again. Whether you make resin trays, handmade soap bars, or small candles, 3D printing gives you more control over shape, size, and repeatability than most DIY mold methods. Better yet, you can prototype fast, tweak your design, and build custom forms that would be annoying or expensive to source any other way.
Why 3D Printed Molds Are So Useful for Makers
This is where 3D printed molds start to feel less like a gadget hobby and more like a real workshop upgrade.
Instead of settling for a mold that is almost right, you can create one that fits your project exactly. That matters when you want a custom logo soap bar, a resin coaster with a precise edge, or a candle insert that matches your brand style.
Just as important, it saves time. Once your design works, you can reprint it, resize it, or build an entire product line from the same file. That flexibility is one of the biggest reasons makers and small businesses rely on 3D printing for mold work.
Research strongly supports this shift. A 2024 review published in the journal Polymers found that 3D-printed molds can reduce production time and tooling costs while making custom designs easier to produce—especially for small-batch manufacturing and rapid prototyping.
Similarly, another widely cited review in Materials Today Proceedings reported that additive manufacturing improves efficiency by simplifying production and enabling fast customization. These advantages make 3D printing especially useful for creating molds, testing new product ideas, and scaling small creative businesses.
What You Need Before You Start
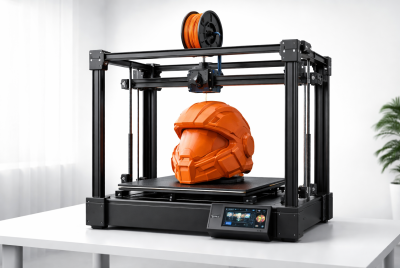
You do not need a giant shop to make this work. Most hobbyists can start with a basic FDM printer, a design file, a little patience, and the right finishing routine.
At a minimum, you will want:
- a reliable 3D printer
- filament suited to your mold type
- sanding tools or filler
- mold release when appropriate
- a measuring tool for fit and wall thickness
- your casting material, such as resin, soap base, wax, or silicone
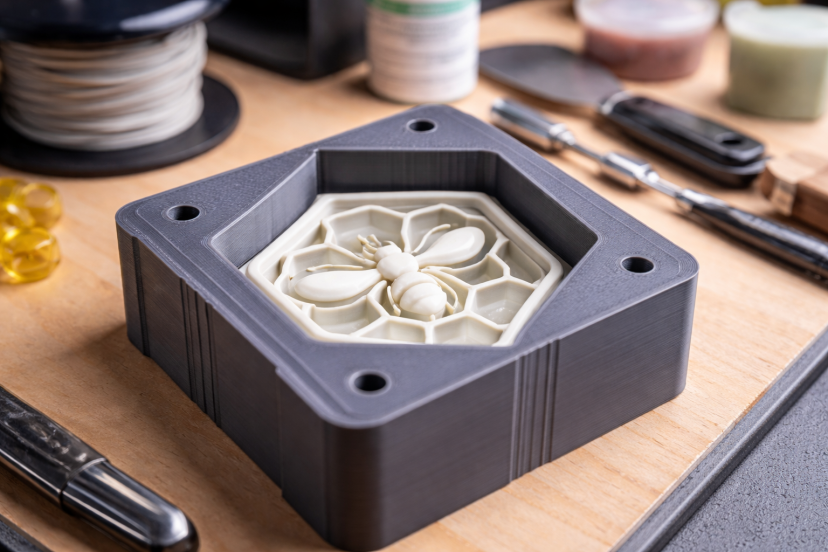
The fastest path is not always printing the final mold itself. In many cases, the smarter move is to 3D print a master pattern, then use silicone to create the finished flexible mold. That gives you cleaner releases and better surface quality for repeated casting.
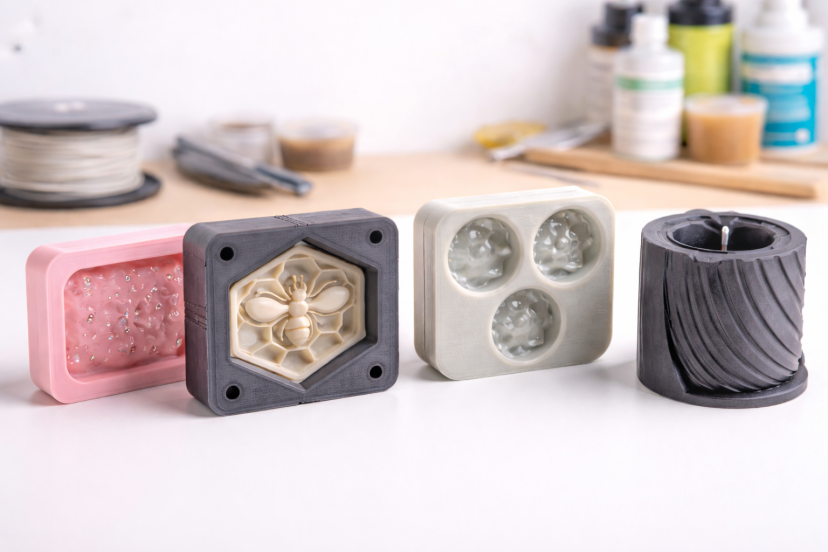
Choose the Right Type of Mold for Your Project
Before you print anything, decide which approach fits your project.
A direct-use rigid mold is the printed part itself. It works best for simple shapes, shallow forms, and projects where minor cleanup after demolding is acceptable. Think flat resin pieces, basic soap bars, or straightforward candle designs.
A master pattern workflow means you print the original shape and then create a silicone mold from it. This option is usually better for detailed designs, curved forms, or anything with tricky release angles.
If you plan to produce items regularly, the master-pattern method often saves time in the long run because it makes repeated casting easier and more consistent.
Best 3D Printing Materials for Mold Making
Material choice matters more than most beginners expect.
PLA is easy to print and great for prototypes, but it softens at lower temperatures. That makes it less reliable for projects involving heat.
PETG is often the better choice for mold work because it handles heat and chemicals more effectively while still printing smoothly.
In practical terms, both materials can work for resin projects. However, PETG usually provides a safer margin for soap and candle making, where heat exposure is more common. PLA still works well for master patterns that will not face high temperatures directly.
How to Design 3D Printed Molds That Actually Release Cleanly
A mold can look amazing on screen and still be a nightmare in real life.
That usually happens because the design ignored release.
Add draft where it matters
Draft angle is your friend. Even a slight taper can make removal easier. Straight walls tend to grip. Slightly angled walls let the part release with far less drama.
Avoid deep undercuts
Undercuts trap parts. If your mold is rigid, trapped geometry becomes a headache fast. Either redesign the shape, split the mold into parts, or switch to a silicone mold made from a printed master.
Think about fill and pour points
Leave enough room for liquid to flow cleanly. This matters for resin and candle work in particular. Narrow channels look neat in CAD, but they can create bubbles, voids, and uneven fills.
In other words, design like a maker, not just like a modeler.
Printer Settings That Improve Mold Quality
You do not need exotic settings. You need sensible ones.
Use a smaller layer height if your design has curves or visible surfaces. Increase wall count for strength. Slow the print down if surface quality matters. And do not cheap out on top and bottom layers when the mold must stay sealed.
Fine layer lines still happen, of course. That is normal. Additive manufacturing reviews consistently note that accuracy, surface finish, and layer-based defects remain real constraints depending on process and settings.
So yes, the printer matters. But the finishing work matters just as much.
How to Make a Direct-Use Mold vs a Master Pattern
This is the fork in the road.
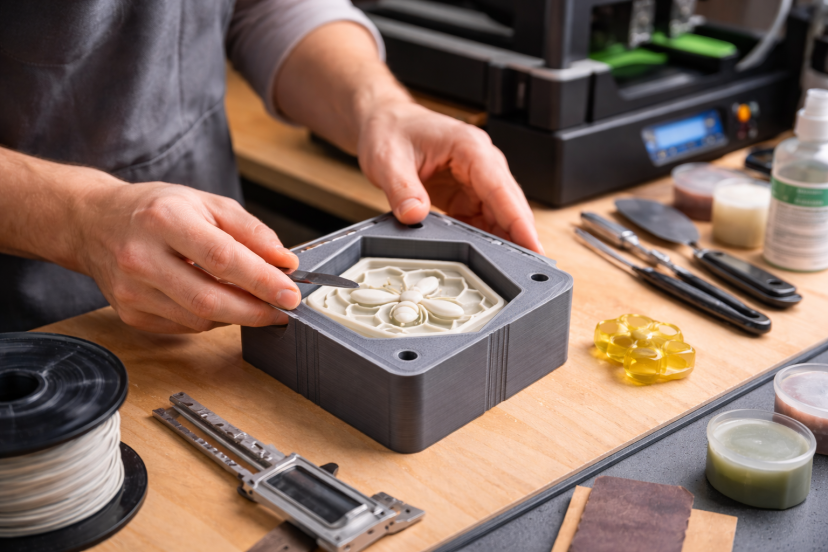
If you are making a direct-use mold, print the mold cavity, clean it thoroughly, seal or smooth it if needed, apply release agent when necessary, and do a small test pour first.
If you are making a master pattern, print the shape you want the final cast to become, finish the surface until it is clean and smooth, then build a silicone mold around that print.
For most hobbyists making resin jewelry, soap bars, ornaments, embeds, or detailed candle toppers, the master-pattern route is usually the one that gives the prettiest result.
Finishing Steps That Make a Huge Difference
This is where a decent print becomes a mold you actually want to use.
Start by trimming stringing and burrs. Then sand visible surfaces. If the layer lines are deep, use filler primer or an appropriate surface coating before sanding again. The smoother the original surface, the smoother the finished casting.
This matters because printed molds and tooling often gain performance from post-processing, especially when surface finish affects release quality, dimensional accuracy, or final part appearance.
A lot of mold problems are not really mold problems. They are unfinished-print problems. A good next step is learning what a large-scale 3D printer can do when your projects outgrow standard build volumes.
Common Problems and How To Fix Them
The cast sticks inside the mold – Usually this means poor draft, rough surface texture, no release agent, or the wrong mold type for the shape.
The mold leaks – Your walls may be too thin, your seams may be weak, or your print may need more perimeter walls.
The surface looks rough – That comes back to layer lines and finishing. Sand more. Seal better. Or use a silicone mold copied from a polished master.
The mold deforms with heat – That points to material choice. PLA may be the culprit in warmer workflows because of its lower heat tolerance.
The dimensions feel off – Measure your test print, adjust shrink allowances if needed, and verify that your slicer settings are not introducing surprises.
Recommended Products
These are the kinds of add-ons that make the process smoother and less annoying:
- Nicpro Silicone Mold Making Kit – Best for turning a polished 3D print into a flexible production mold.
- NEIKO 6-inch Digital Caliper – Helpful for checking wall thickness, draft tweaks, and fit before you waste material.
- Mold Release Silicone Spray – Useful when rigid molds need a cleaner release.
- Deburring Tool Set – A quick way to clean edges and stringing before sanding.
- eSUN PETG Filament – A practical step up from PLA when you want better heat resistance for mold-related printing.
For beginners, I would prioritize the silicone kit, PETG filament, and caliper first. Those three have the biggest effect on workflow quality.
Final Thoughts
Creating 3D Printed Molds gives you more control, flexibility, and efficiency in your resin, soap, and candle projects. With the right design, material, and finishing steps, you can produce consistent results and refine your ideas faster than traditional mold methods allow. Start simple, test your prints, and improve your process over time. As your skills grow, your molds will become reliable tools that help you create better products with less guesswork.
FAQs
What is the best filament for 3D Printed Molds?
PETG is often the better all-around choice for mold-related projects because it handles heat and chemicals better than PLA, while still being relatively easy to print. PLA is still useful for prototypes and master patterns.
Can I use PLA for candle molds?
You can use PLA for some tests and master patterns, but it is not usually the safest long-term pick for direct candle mold use because its glass transition temperature is relatively low.
Are 3D printed molds good for resin casting?
Yes, especially for simple rigid molds or as master patterns for silicone molds. The better your print finish and mold design, the better your resin result will be.
Is it better to print the mold or print a master pattern?
For detailed or repeat-use projects, printing a master pattern and then making a silicone mold is usually the better option. It gives cleaner release and nicer finished surfaces.
Why do my casts come out with visible lines?
Most of the time, the print surface was not finished enough before use. Layer lines transfer into the cast, so sanding, sealing, and polishing the print usually fix the issue.