3D Printed Sword Tinkercad: Crafting Your Unique Weapon
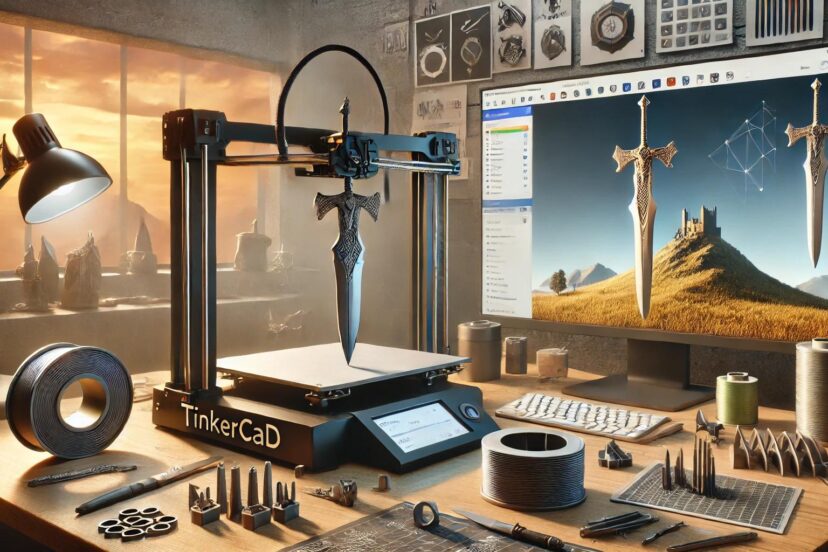
Hey there, fellow creative minds! Have you ever thought how amazing a two-edged sword is? It’s crafted with metal, forged by fire symbolizing power and honor. What if I tell you that you can make a sword without fire, just pure technology and wits? Yes, you can be a digital blacksmith with a 3D printed sword Tinkercad! Sounds intriguing? If so, let’s dive into a surprising journey on how to make a sword that signifies justice and honor without breaking a sweat. Let’s get started!
What is Tinkercad?
Before anything else, let’s talk about Tinkercad. So, if you’ve used it before, good for you. If not, and you’re new to the world of 3D printing, here’s what is it: Tinkercad is an online, free 3D modeling program used to create digital designs for 3D printing cool physical objects like a coket organizer. Honestly, it’s perfect for just about anyone, including me! When I started my first 3D printing project, I searched for free tools online. Of course, I don’t want to break the bank just to make my dreams into reality. So, I found this online (through Reddit), and trust me, it’s super easy to use! Literally, if you want to just put shapes together, start here.
The study “The Use of Tinkercad and 3D Printing in Interdisciplinary STEAM Education” highlights how Tinkercad and 3D printing enhance STEAM education by fostering hands-on learning and creative problem-solving. It focuses on engineering design, showing how students use Tinkercad to create and print tangible objects, gaining valuable skills in critical thinking and collaboration. The platform’s accessibility makes it ideal for interdisciplinary learning, much like its application in designing custom 3D-printed swords.
Why 3D Print a Sword?
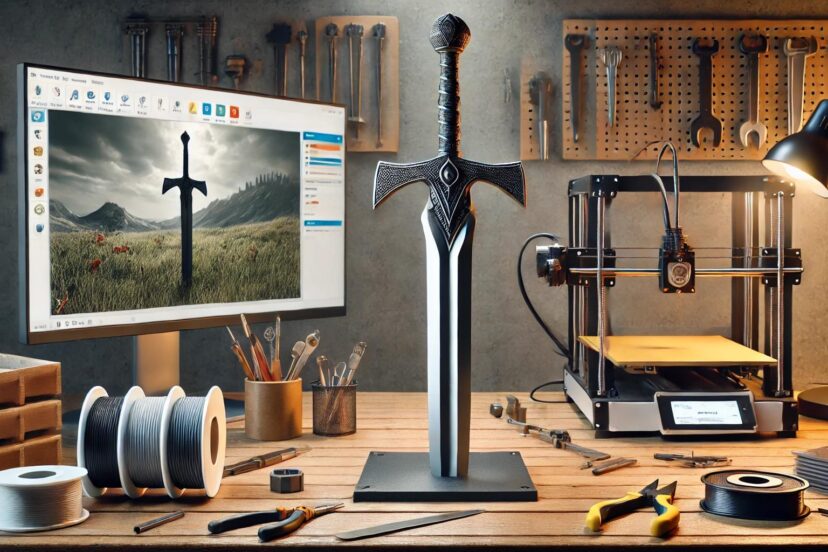
“Okay, Josh, I get it. But why print a sword?” Common, be a little bit adventurous! Are you into cosplay? If yes, then don’t just buy a sword in the store for your next big event, craft one yourself and make it unique! Imagine creating legends like the Kurikara at home. That’s super cool! Plus, with 3D printing, you can add a personal touch to your sword. How about your initials somewhere on the sword’s grip? Plus, you can create a 3d printed sword tinkercad that fits your hand, your style, and your vision down to the finest detail.
The Basics of 3D Printing
Alright, before you start dreaming about slaying dragons (or hanging your sword on the wall), let’s talk about the basics first. So, how do 3D printing work? 3D printing works by layering material—usually some type of plastic (or filament like PLA)—until your design takes shape. It’s basically like you’re layering slices of your sword, slowly stacking them up until you have the finished product. As simple as that!
Starting Your Sword Design in Tinkercad
Now let’s make the design with Tinkercad! Hey, don’t worry if this is your first time. This tool is super easy to use you don’t need prior experience, believe me. Tinkercad is packed with simple geometric shapes—cubes, spheres, cylinders—that you can manipulate into whatever your heart desires. When designing a sword, break it down into three key elements: the blade, the hilt, and the pommel then you’re good to go!
– Blade: This is your sword’s sharp, sleek body. You might start with a rectangle or a wedge, then stretch and shape it into a form that looks ready to slice through the air (figuratively, of course).
– Hilt: The handle, where your hand will metaphorically rest. Combine shapes like cylinders and cubes to create the perfect grip.
– Pommel: The pommel is the cherry on top—the weight at the base of the hilt that balances your sword. A simple sphere or rounded shape will do the trick here.
Using Tinkercad’s Tools for Precision
What if my sword looks so rough it can’t even slice an apple? No worries! You can fine-tune every inch of it with the help of Tinkercad. The Align Tool makes sure your blade isn’t veering off into wonky territory, while the Grouping feature locks your pieces into place once you’ve got everything where it belongs. Think your sword looks like a dagger for the dwarfs? It’s okay! Resize it, and make it longer (like a real sharp-edged sword) with the Scaling tool.
Adding Details to Your Sword
Once the basics are down, it’s time to really let your creativity shine. Want to add ancient runes along the blade like the one in Demon Slayer? Go for it! No one’s stopping you, friend. Intricate scrollwork on the hilt? Sure! With Tinkercad, you can use smaller shapes to either carve out details or layer them on. So use your imagination, spark creativity, and make a sword that’s uniquely yours!
Optimizing for 3D Printing
But wait—before you hit “print,” let’s check a few things first. Want a shabby sword? I bet not! So to avoid that, make sure you’ve got the right wall thickness—too thin, and your sword could snap; too thick, and it might feel more like a club than a blade (and it looks hilarious too). Support structures are also a must, especially if you have floating parts like detailed hilts. You got this!
Selecting the Right Filament for Your Sword
So, what filament is perfect for my shiny sword? Newbie or not, I suggest you use PLA filament. Why? It’s easy to use and doesn’t require much fuss. I tried a few types of filaments but I always go back to PLA because it’s easy and is widely available online. But if you want something a bit tougher, you could opt for ABS filament. I also like using it even though it’s a bit more challenging to work with.
Slicing Your Sword
Lastly, you need slicing software to slice your sword lol. I mean, to slice your design! This process converts your 3D model into instructions your printer can understand. Software like Cura or PrusaSlicer are pretty good at their job. Adjust settings such as layer height and infill, which determine the sword’s strength. If you’re still unsure how to do it, check out online forums or YouTube videos if there are any.
Printing Your Sword
Ah, the moment of truth! It’s time to print the magical sword of your dreams!!! Printing a sword (depending on size) might take anywhere from a few hours to a whole day to print. But hey, that’s far way too easy than making a sword with fire, right? So, grab your favorite coffee or smoothie and watch as it prints layer by layer.
Post-Processing Your Sword
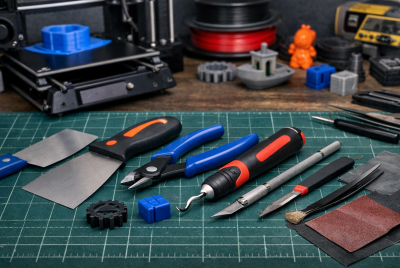
Once your 3d printed sword tinkercad emerges from the printer, you’ll probably need to do a little post-processing. Removing supports, sanding rough edges, and maybe even adding a coat of paint are all part of the journey to perfection. Make it sharp and shiny as much as possible!
Top Product Recommendations
- Prusa i3 MK3S+ – Known for precision and reliability, the Prusa i3 MK3S+ features auto bed leveling, filament detection, and quiet operation—ideal for intricate sword designs.
- Sunlu PLA+ Filament – Durable and strong, Sunlu PLA+ Filament ensures robust sword prints with great adhesion and minimal warping.
- Ultimaker Cura – Ultimaker Cura offers easy-to-use slicing with customizable settings, perfect for optimizing sword prints on various 3D printers.
- XTC-3D Epoxy Coating – Smooth and polish your sword prints with XTC-3D Epoxy Coating, providing a professional, glossy finish and added strength.
- Autodesk Tinkercad – Autodesk Tinkercad is a beginner-friendly tool for easily creating and customizing sword designs from basic shapes.
Sharing Your Sword with the World
How would they know of your excellent masterpiece if you just kept it in your closet? Snap some Instagrammable pictures and post them online! Share it on Thingiverse, MyMiniFactory, or within Tinkercad’s own community. Who knows? Your creation might inspire the next digital blacksmith. Or you can get more 3D printing suggestions from their comments!
Conclusion
Crafting a legendary sword is made easy with the help of Tinkercad. It’s not just about bringing a 3d printed sword tinkercad to life but also about channeling your creativity and creating something truly one-of-a-kind. It doesn’t matter whether you’re it for fun or for cosplay, each layer you print is a step closer to realizing your vision. Happy printing!
Check this out:
FAQs
1. Can I 3D print a functional sword?
Not really. 3D-printed swords are purely for decorative purposes. The materials used aren’t suited for real combat.
2. How long does it take to print a sword?
It depends on the size and detail. Printing takes anywhere from a few hours to over a day.
3. What’s the best filament for a 3D printed sword?
PLA filament is great for beginners, while ABS is better for more durability.
4. Do I need support structures for my sword?
Yes, especially for intricate designs or overhangs.
5. Can I modify my design in Tinkercad after creating it?
Yes, you can! Keep tweaking and experimenting—Tinkercad’s flexibility makes it easy to perfect your design.

