5 Creative 3D Printed Coaster Designs
A 3D printed coaster is a simple project that lets you create something useful, stylish, and personal without using much filament. Whether you want a modern desk accessory, a custom gift, or a fun beginner print, coasters are easy to design and quick to test. In this guide, you’ll find five creative 3D printed coaster designs, plus practical tips for choosing materials, improving print quality, and making each coaster more durable.
Why 3D Printed Coasters Are Worth Making
A coaster sounds basic. But that is exactly why it works so well as a 3D printing project.
It is small enough to print quickly, flat enough for beginners, and flexible enough for creative experiments. You can test new filaments without wasting a whole spool. You can also try different patterns, top surfaces, color swaps, and post-processing techniques.
Plus, coasters make great gifts. A custom set feels more thoughtful than something grabbed from a store shelf. Add initials, a favorite symbol, a sports-inspired pattern, or a clean geometric style, and suddenly that tiny print feels custom-made.
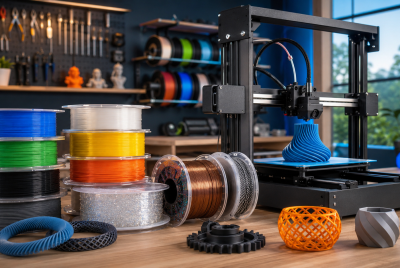
Best Materials for a 3D Printed Coaster
PLA works well for decorative and everyday coasters because it prints easily, comes in many colors, and handles detail nicely. However, it can soften with higher heat, so it is not always the best choice for very hot mugs.
PETG is a stronger choice for coasters that may hold hot drinks. PETG generally offers better heat resistance than PLA, and several 3D printing material guides compare PETG as tougher and more temperature-resistant than PLA.
TPU can also work if you want a flexible coaster with grip. It is not always the easiest material for beginners, but it gives coasters a softer, rubbery feel.
For a practical coaster, you can also add cork backing. Cork helps reduce sliding, protects tables, and gives the bottom a more finished look.

5 Creative 3D Printed Coaster Designs
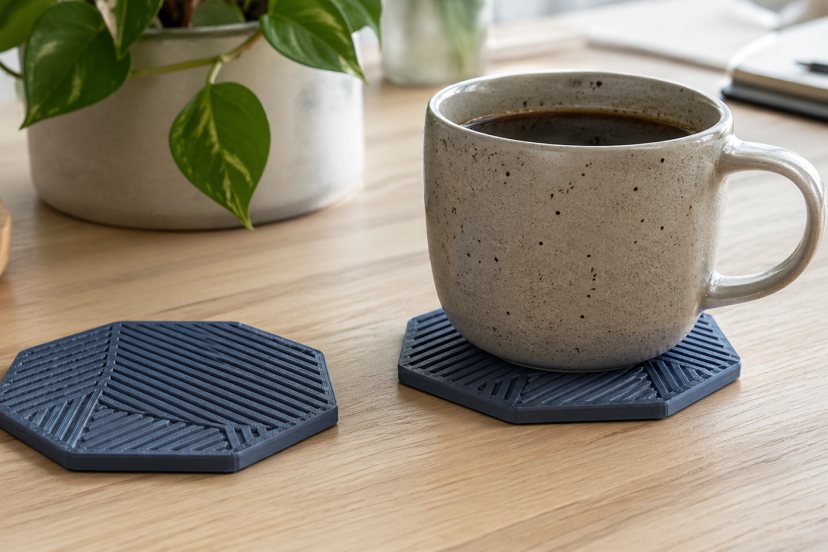
1. Geometric Pattern Coasters
Geometric coasters are clean, modern, and surprisingly easy to customize. Think triangles, hexagons, circles, maze lines, or repeating diamond shapes.
The best part? Geometric designs look polished even when you use a single color. If you want more contrast, pause the print and swap filament colors for the top layers. A black base with white lines looks sharp. A matte gray coaster with a copper or gold accent can look surprisingly premium.
For beginners, start with a flat round or square coaster. Then add raised lines on top. Keep the raised pattern subtle so mugs sit evenly.
A good size is around 90–100 mm wide and 3–5 mm thick. This gives most cups enough room without making the coaster feel bulky.
2. Minimalist Monogram Coasters
A monogram coaster feels personal without looking too busy. You can add one large initial, a family name, a small logo, or a simple line-art icon.
This design works beautifully for gifts. Print a set of four with the same letter, or create a mixed set with each person’s initials. For weddings, housewarming gifts, or small business branding, monogram coasters feel custom but not overdone.
Keep the font bold and readable. Thin script fonts may look nice on screen, but they can print poorly, especially on smaller nozzles. A clean sans-serif font often gives better results.
If you want a more elegant finish, use silk PLA for decorative sets.
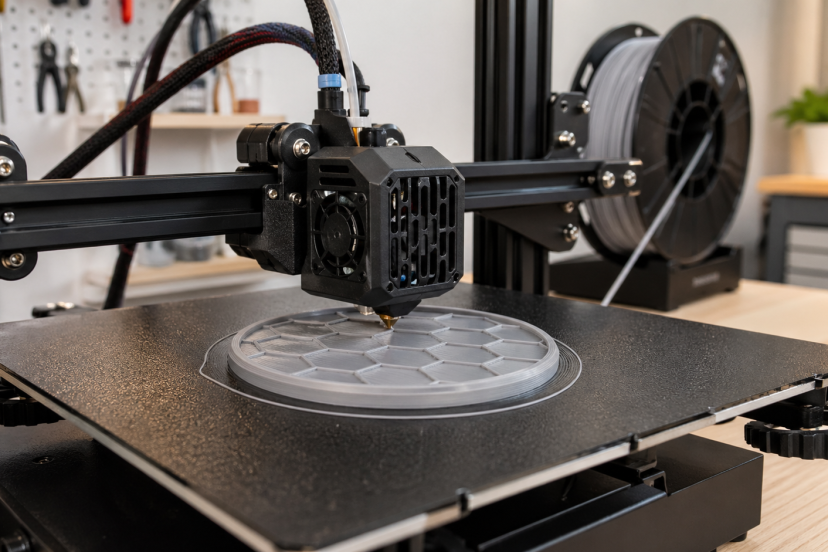
3. Honeycomb Texture Coasters
Honeycomb patterns are popular for a reason. They look technical, neat, and a little futuristic. They also fit the 3D printing world perfectly because the pattern already feels engineered.
A honeycomb 3D Printed Coaster can use open cells, raised cells, or a shallow engraved look. Open honeycomb designs look cool, but they can let condensation reach the table. So, for daily use, a solid base with a raised honeycomb top usually works better.
This style pairs nicely with PETG. It gives the coaster a durable feel, especially if you plan to use it for hot coffee or tea.
4. Nature-Inspired Coasters
Nature-inspired coaster designs can feel warm and handmade, even though they come from a printer. Try leaf outlines, mountain silhouettes, wood-grain textures, waves, flowers, or sunburst patterns.
These designs work well for home decor because they do not scream “tech project.” A leaf-pattern coaster in muted green or brown can blend into a cozy kitchen. A wave design in blue PETG can fit a beachy coffee table. A mountain outline can look great in a cabin-style office.
Wood-filled PLA can add a natural look, but it may need more tuning than regular PLA. If you use it, keep the design simple and clean your nozzle as needed.
For a practical touch, add a slightly raised rim. That small lip can help catch condensation before it runs onto the table.
5. Retro Pixel Art Coasters
Pixel art coasters are fun, nostalgic, and perfect for gaming rooms. You can create tiny hearts, old-school game icons, fruit shapes, smiley faces, or checkerboard patterns.
These designs usually work best as square coasters because the pixel grid fits naturally. Use color changes to create the artwork. If your printer supports multi-color printing, great. If not, you can still pause at specific layers and swap filament manually.
Keep the coaster surface mostly flat. Large raised pixel blocks can make cups wobble, which nobody wants. Cute is good. Spilled coffee is not.
Pixel coasters also make great beginner projects because the shapes use simple geometry. You do not need fancy modeling skills to make them look good.
Printing Tips for Better-Looking Coasters
Start with the right layer height. Thinner layers usually create a smoother top and cleaner curves, while thicker layers print faster. Since layer thickness can affect surface roughness, this setting can change how polished your coaster looks.
Use enough top layers
Coasters need a clean surface, especially when infill patterns sit underneath. Try 4–6 top layers for a more finished result.
Add a chamfer or rounded edge
Sharp edges can feel rough, while a small bevel makes the coaster feel smoother and more professional.
Check your first layer
Flat prints depend on a solid first layer. A textured PEI build plate can improve adhesion and create a nicer bottom finish, but PETG may need careful removal depending on the surface.
For more small, beginner-friendly print ideas, explore these fun 3D printed fidgets that are great for testing colors, shapes, and moving parts.
Recommended Products for 3D Printed Coaster Projects
1. Amazon Basics Silk PLA Filament
This is a good pick for decorative coaster sets. Silk PLA gives designs a shinier finish, which works well for monograms, geometric patterns, and gift sets. It is best for room-temperature drinks or decorative use.
2. SUNLU PETG Filament
PETG is a smart option for functional coasters. It handles heat better than PLA and gives a tougher feel. Use it for coffee mugs, tea cups, and everyday table use.
3. Self-Adhesive Cork Backing Sheets
Cork backing makes a printed coaster feel more complete. It also helps reduce slipping and protects surfaces. Look for sheets around 4 x 4 inches, then cut them to fit round, square, or custom coaster shapes.
4. 3D Print Deburring Tool Kit
A deburring tool helps clean rough edges after printing. This is especially useful for coasters with cutouts, honeycomb patterns, or detailed rims.
5. Textured PEI Build Plate
A textured PEI plate can give the bottom of your coaster a neat, professional-looking texture. It can also help with adhesion, depending on your printer and filament. Just make sure the plate matches your printer size.
How Print Settings Shape Coaster Quality and Durability
A good 3D printed coaster should look clean, sit flat, and feel sturdy enough for daily use. Print settings play a big role in that.
A review of FDM process parameters explains that layer height, print speed, nozzle temperature, and build orientation can affect surface finish, strength, accuracy, and overall print quality. For coasters, a lower layer height can create a smoother top, while the right temperature and speed help reduce rough edges or uneven details.
Infill matters too. A study on FDM infill patterns and mechanical properties found that infill pattern and percentage can influence strength, weight, and print time. For most coaster designs, moderate infill with enough top and bottom layers gives a solid result without wasting filament.
Before printing a full set, test one coaster first. Small tweaks to layer height, wall count, and infill can make the final print look cleaner and feel more durable.
Conclusion
A great 3D printed coaster shows how a small project can still be practical, creative, and personal. With the right material, clean design, and smart print settings, you can make coasters that look polished and hold up to daily use. Start with one test print, adjust the thickness, surface finish, and infill, then print a full set once everything feels right. Whether you choose geometric patterns, monograms, honeycomb textures, nature-inspired designs, or retro pixel art, each coaster gives you a simple way to improve your 3D printing skills while creating something useful for your home, desk, or next handmade gift.
FAQs
What is the best filament for a 3D Printed Coaster?
PETG is a great choice for everyday coasters because it handles heat better than PLA. PLA works well for decorative coasters, test prints, and cold drink use.
How thick should a 3D printed coaster be?
Most coasters work well at 3–5 mm thick. This gives the coaster enough strength without making it feel bulky.
Can PLA coasters handle hot coffee?
PLA can handle some casual use, but it may soften or deform with higher heat. For hot mugs, PETG is usually a better option.
Should I add cork to the bottom of a 3D printed coaster?
Yes, cork backing is a smart upgrade. It helps prevent slipping, protects furniture, and makes the coaster feel more finished.
What size should a 3D printed coaster be?
A common coaster size is 90–100 mm wide. That size fits most mugs, glasses, and cups while still looking balanced on a table.