How to Line Up 3D Printed Parts: A Complete Guide
Putting together a big 3D print can be a struggle, right? Getting those pieces to fit perfectly can feel like assembling a jigsaw puzzle. Some pieces will fit effortlessly, while others have weird edges making you feel frustrated while trying to put them together. Actually, it doesn’t have to be a guessing game. A little planning, some handy techniques, and a bit of patience is all you need. So, here’s a guide on how to line up 3D printed parts that’ll ensure precision during assembly.
Why Proper Alignment Matters
In 3D printing, proper alignment is a must! Why? Because if you don’t align 3D prints properly, it can feel like assembling an IKEA furniture only to realize at the end that one part is backward. Super frustrating! Trust me, misalignment can make your final piece weak or wobbly. A small shift can turn a “well-planned print” into a wobbly mess. That’s why you should take your time to get things right at the start. That’s why taking the time to learn how to line up 3D printed parts properly is crucial. Don’t rush and plan it properly because it will save you a lot of frustration later.
Start with a Precise Design
Make sure your design looks good before you even hit “print.” Your 3D modeling software is the first step toward proper alignment. It can make a huge difference to add guiding holes, interlocking joints, or even just some basic flat surfaces for components to rest against. If the connection points in the design don’t line up correctly, they won’t align magically in real life. Think of it like building a LEGO.
Choose the Right Printing Orientation
Orientation isn’t just about making sure your print sticks to the bed—it also affects how well your parts line up. If you print something at a weird angle, you might end up with warped edges that refuse to fit together. Whenever possible, print large, flat surfaces facing down to keep things smooth. It’s like baking cookies—laying them out properly helps them keep their shape.
Consider Tolerance and Fit
Not all 3D printers are perfect (shocking, I know). Even a tiny variation can throw off your alignment. To make sure your parts fit, plan for a small gap between them—this is called tolerance. A tolerance of about 0.2 to 0.5mm is usually enough to avoid that “why won’t this fit?!” moment. If you’re struggling, adjusting how to line up 3D printed parts with proper tolerance settings can make all the difference. Think of it like trying to squeeze into your favorite jeans after Thanksgiving—sometimes, a little extra space makes all the difference.
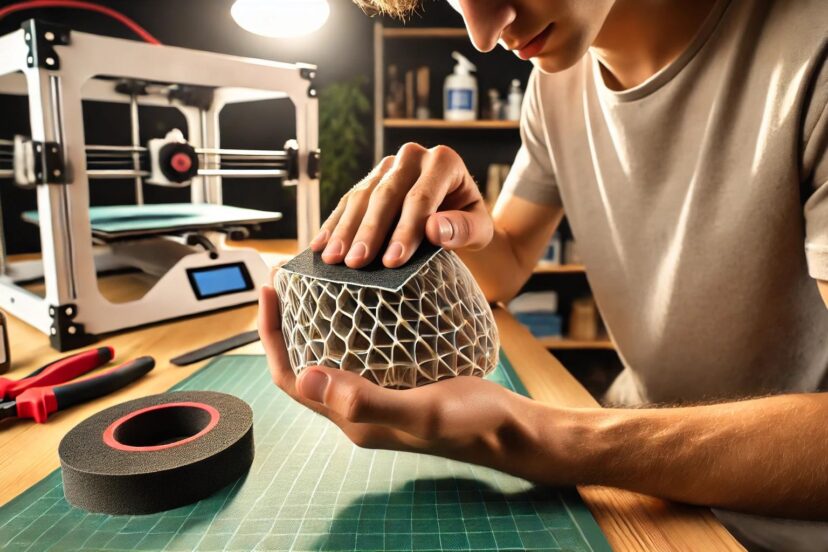
Sanding and Post-Processing for a Perfect Fit
Let’s be honest—3D prints rarely come out looking perfect. Edges can be rough, and layers can make alignment tricky. That’s where sanding comes in. A bit of fine-grit sandpaper, a file, or even a Dremel can smooth things out so they fit like they were meant to. It’s a little like woodworking—take your time, sand gently, and check the fit often.
Use Alignment Pins and Dowels
If you’ve ever built IKEA furniture (yes, again with IKEA), you know those little wooden dowels help keep things in place. You can use the same concept with 3D prints. Adding small pins and matching holes into your design makes alignment a breeze. It’s a simple trick that saves you from holding pieces together awkwardly while the glue dries.
Magnets and Snap-Fit Connections
Want your parts to align effortlessly? Try embedding tiny magnets into your prints! It’s like magic—just bring the parts close, and they’ll snap into place. If you don’t want to mess with magnets, consider snap-fit joints. These are designed to click together without glue, making assembly a piece of cake.
Dry Fit Before Gluing
This is where patience comes in. Before you commit to gluing, do a test fit. It’s like trying on an outfit before heading out—you want to make sure everything looks right before making it permanent. If something doesn’t fit quite right, this is your chance to fix it without dealing with messy glue.
Best Glues and Adhesives for 3D Prints
Not all glues are created equal. The best one for the job depends on what you printed with:
- PLA: Super glue (cyanoacrylate) or epoxy works great.
- ABS: Acetone welding (it melts the plastic together) or super glue.
- PETG: Epoxy or super glue, but make sure the surface is clean first.
- Resin Prints: UV resin or super glue for an almost invisible bond.
Pick the right adhesive, and you won’t have to worry about your parts falling apart later.
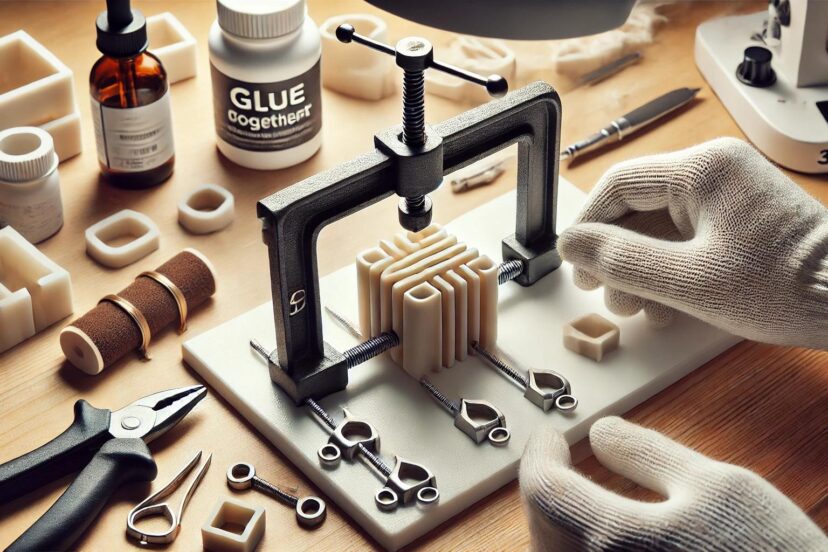
Clamping for a Strong Bond
Once you apply glue, keeping the parts still while it dries is crucial. Use clamps, rubber bands, or even a few heavy books to hold things in place. Learning how to line up 3D printed parts using clamps ensures a stronger bond and prevents shifting during the drying process. It’s like pressing two pieces of a sandwich together so they don’t fall apart—except in this case, you don’t get to eat it afterward.
Heat Welding for Seamless Joints
If you want an extra-strong bond, try heat welding. Using a soldering iron or a 3D printing pen, you can melt the edges together for a seamless finish. Think of it like sealing a bag of chips with a lighter (but, you know, without the risk of starting a fire).
Using Alignment Jigs
If you’re struggling to hold parts steady while gluing, a simple jig can make all the difference. You can 3D print a jig specifically for your project or just use books, clamps, or even tape to keep everything aligned. A good jig takes the guesswork out of assembly.
Filling Gaps and Seams
Even if you do everything right, small gaps might still appear. Don’t panic—this is fixable! Use:
- Wood filler for PLA prints.
- Bondo or epoxy putty for ABS and PETG.
- UV resin for resin prints.
Apply, sand, and paint, and no one will ever know there was a seam there in the first place.
Painting and Finishing Touches
Once your parts are assembled, a fresh coat of paint can make it all look seamless. Use filler primer first to smooth out any imperfections. Then, pick your favorite colors and go to town—your print will look like one solid piece in no time.
Troubleshooting Common Alignment Issues
- Parts not fitting? Sand the edges or adjust your printer’s tolerance settings.
- Gaps in joints? Use putty or adjust how much glue you’re using.
- Parts shifting while gluing? Use clamps or jigs to hold them steady.
Recommended Tools and Products for Lining Up 3D Printed Parts
To make assembling your 3D printed parts easier and more precise, here are some must-have tools and materials:
1. Adhesives and Glues
- Loctite Super Glue (Cyanoacrylate) – Great for PLA and resin prints.
- JB Weld Plastic Bonder Epoxy – Strong bond for PETG and ABS.
2. Sanding and Finishing Tools
- 3M Sandpaper Set (400-2000 grit) – Perfect for smoothing edges.
- Dremel Rotary Tool – Ideal for quick sanding and trimming.
3. Alignment and Assembly Tools
- Small Clamps or Vice Grip – Helps hold parts in place while gluing.
- Magnetic Jig Fixtures – Keeps parts perfectly aligned during assembly.
Scientific Research on Aligning 3D Printed Parts
Recent studies have explored various techniques to improve the alignment of 3D printed components, enhancing their functionality and precision. A comprehensive review on 3D printing-enabled nanoparticle alignment discusses mechanisms that guide nanoparticle orientation, optimizing material properties. Additionally, research on stress flow-guided print trajectory optimization highlights methods to align anisotropic polymers, improving the strength and performance of 3D-printed structures. These advancements contribute to more precise assembly techniques, making 3D printing a more reliable solution for complex designs.
Conclusion
Lining up 3D printed parts doesn’t have to be a frustrating guessing game. With a little patience and the right techniques, you can make sure your pieces fit together like they were always meant to. Whether you’re making cosplay props, functional gadgets, or just cool display pieces, mastering how to line up 3D printed parts will level up your 3D printing game. Now go forth and print with confidence!
FAQs
1. How do I prevent misalignment when gluing parts?
Always dry-fit first, and use alignment pins or jigs to keep things in place.
2. What’s the easiest way to make 3D printed seams smooth?
Sanding, filler putty, and a good coat of primer work wonders.
3. Can I use a soldering iron to join 3D printed parts?
Absolutely! Heat welding is a great way to create strong, nearly invisible joints.
4. What’s the best glue for PLA prints?
Super glue (cyanoacrylate) is quick and effective, but epoxy is stronger.
5. Why don’t my parts fit perfectly after printing?
Your printer’s tolerance settings might be off. Try adjusting them or sanding the parts for a better fit.