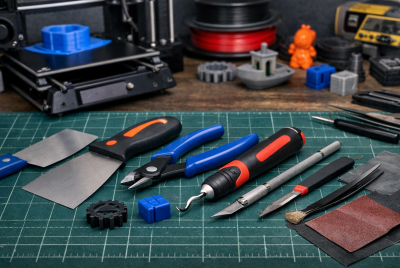
3D Print Acoustic Soundhole Volume Control Inside Mount
As a musician, we always aim to sound as perfect as possible. It may seem easy to achieve that perfect tone but in reality… sometimes it isn’t. Controlling the volume of your instrument can be a bit tricky. No problem, a 3d print acoustic soundhole volume control inside mount can help you. This little invention is creating a buzz in the music community. Why? Because they offer a customizable, innovative solution for managing sound output. Let me show you how it can change the way you play!
Understanding Acoustic Soundhole Volume Control
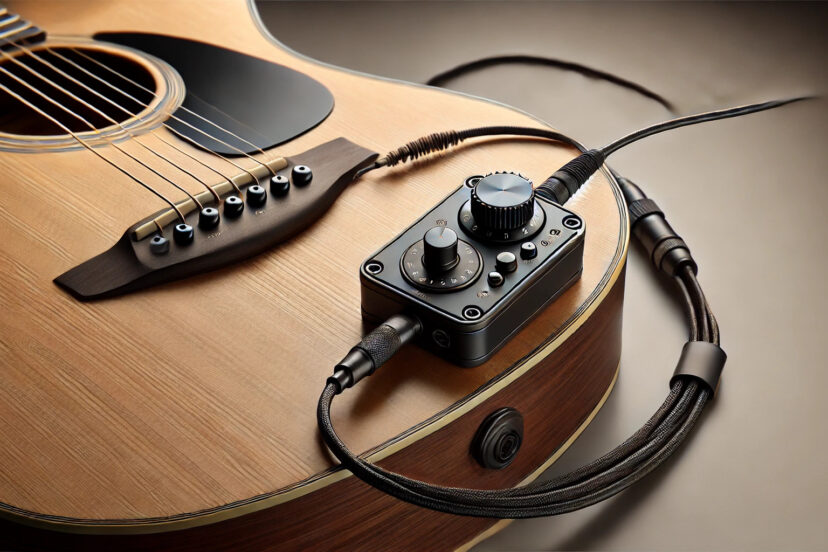
So, what is acoustic soundhole volume control? From the name itself, it’s a device that allows you to adjust the volume of your acoustic guitar directly from the soundhole. Right from your fingertips!!! Imagine it as your guitar volume’s remote control. That’s the idea here. Control how loud or soft your music’s gonna be. Just like adding some dynamics to your songs! No need to adjust the amp or use external gadgets.
A recent study from Purdue University explored the relationship between resonant frequency, sound hole diameter, and body depth in acoustic guitars. The research found that as the sound hole diameter increases, the resonant frequencies also increase. This directly influences the guitar’s tonal qualities, which is crucial when designing a 3D-printed volume control that fits within the soundhole. The findings suggest that careful consideration of these factors can help maintain the guitar’s natural sound while offering the benefits of volume control. Read more here.
The Magic of 3D Printing
Okay, you get the whole point but why 3D printing? Well, 3D printing allows you to customize your own soundhole volume control. You can design and print a volume control that perfectly fits your guitar’s soundhole for better performance. Why not try to be creative? Create something uniquely yours.
Why Inside Mount?
Why mount it inside the guitar? Because it’s more convenient! Mounting the volume control inside the soundhole is a smart move because keeps it out of the way. It doesn’t interfere with your playing or the aesthetics of your guitar. Why adjust the amp when you can just tweak it with your fingertips? I mean, with this move no one will even notice. Plus, it keeps the mechanism close to the source of the sound, making the volume adjustments more effective.
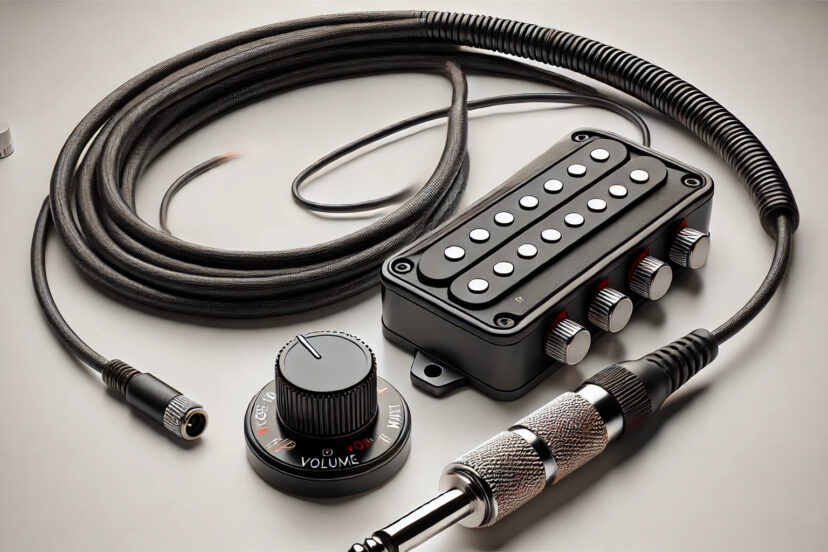
Benefits of Using 3D Print Acoustic Soundhole Volume Control Inside Mount
1. Customization: With 3D printing, you can design the control to fit your guitar perfectly. No more one-size-fits-all solutions.
2. Cost-Effective: Printing your own volume control can be much cheaper than buying a commercially available product.
3. Innovation: This is a relatively new concept, and being an early adopter can set you apart in the music community.
4. Ease of Use: Once installed, adjusting the volume becomes incredibly easy and intuitive.
How Does It Work?
The 3D-printed acoustic soundhole volume control is super easy to use. Made up of a small dial, you can slide to adjust the volume. It works with the guitar’s internal components to adjust the sound output. From loud to soft volume sounds. I love the idea that it doesn’t require batteries or external power sources. Just connect it to the amp or speaker then you’re good to go!
Designing Your Own Soundhole Volume Control
Do you have a 3D printer? Then be creative! Designing your own soundhole volume control can be fun.
1. Measure Your Soundhole: The first step is to measure the diameter of your guitar’s soundhole. This will ensure that your 3D print fits perfectly.
2. Choose Your Design: Do you want a simple knob, a slider, or something more intricate? The design is entirely up to you.
3. Select Your Material: PLA, ABS, or something more exotic? Each material has its pros and cons, so choose one that suits your needs.
4. Print and Test: Once your design is ready, print it out and test the fit. You may need to make a few adjustments to get it just right.
Installation Process
Installing your 3D-printed soundhole volume control is relatively straightforward.
1. Remove the Strings: Start by loosening and removing the strings of your guitar. This gives you easy access to the soundhole.
2. Insert the Control: Carefully place the volume control inside the soundhole. Ensure that it fits snugly and doesn’t move around.
3. Reattach the Strings: Once the control is in place, reattach your strings and tune your guitar.
4. Test the Control: Strum your guitar and test the volume control. Make any necessary adjustments.
Fine-Tuning for Perfect Sound
Guitars are built differently. You may need to fine-tune the volume control so it matches your instrument. How will you do that? Tweak the design or adjust the positioning. Trust me, it works! Try to find the sweet spot where the volume control enhances your playing without compromising the guitar’s natural sound. You’ll get that right.
Common Challenges and Solutions
As with any DIY project, you might encounter a few challenges along the way. Hey, don’t give up too soon! Here are some common issues and how to solve them:
1. Fit Issues: If your 3D print doesn’t fit perfectly, try scaling the design slightly up or down.
2. Sound Quality: If the sound quality is affected, experiment with different materials or designs to find the best solution.
3. Durability: If your control feels flimsy, consider using a more robust material or reinforcing the design.
Enhancing the Look of Your Guitar
Now let’s do some makeover to your favorite acoustic guitar. One of the things I really like about 3D printing is their ability to turn your ideas into life. You can choose colors, patterns, and designs for your guitar. Try to be creative or add some personal touch so your design stands out!
Environmental Impact of 3D Printing
Imagine creating something you need without harming Mother Earth… that’s awesome! 3D printing can be more eco-friendly than you think. Unlike traditional manufacturing methods, you have the right to choose which materials to use. Use biodegradable materials like PLA, they’re also newbie-friendly. Plus, by printing only what you need, you reduce waste.
Real-Life Examples
There are a number of musicians using 3d print acoustic soundhole volume control inside mount. Some of them shared their positive experiences. And most of them noticed an improved control over their instrument’s volume! Plus, the ability to tailor the device to their specific needs.
Getting Started with 3D Printing
So, this is your first hello to 3D printing? Hey, don’t sweat it. Everyone started as a beginner before they became experts in their field you know. Thanks to the internet, you can find resources to help you get started, just like my blog here! Just be resourceful, watch YouTube videos (if there’s any), or google your question. Want more 3D printing tips? Check out our previous article here.
Products to Enhance Your Guitar Experience
1. 3D-Printed Guitar Picks: Customize picks for better grip and feel tailored to your playing style.
2. Acoustic Guitar Feedback Buster: Reduces feedback when amplified, with a 3D-printed fit for your soundhole.
3. Acoustic Guitar Capo: Ensure a perfect fit on your guitar’s neck for seamless key changes.
4. Soundhole Covers: Protect your guitar’s interior while adding a personal touch.
5. 3D-Printed Strap Locks: Secure your guitar strap with locks designed for a snug fit and style.
Final Thoughts on 3D Printed Acoustic Soundhole Volume Control
The 3D-printed acoustic soundhole volume control inside mount says a lot about innovation and creativity. Sure, you can purchase a device online but it’s more special when you create it yourself. Would you agree? You don’t have to be a professional musician to consider using this., This tool can enhance your music and give you greater control over your sound. Give it a try!
FAQs
1. Can I use any 3D printer to create a soundhole volume control?
Yes, most standard 3D printers can handle the task. Just ensure that your printer is capable of producing detailed and precise prints.
2. What materials are best for 3D printing a soundhole volume control?
If you’re a beginner, use PLA for ease of use. If you want something more durable, then use ABS or PETG.
3. How much does it cost to 3D print a soundhole volume control?
The cost is relatively low, especially if you already own a 3D printer. Expect to spend a few dollars on materials.
4. Will a 3D-printed volume control affect the sound quality of my guitar?
If designed and installed correctly, it should enhance your sound by giving you better control over the volume.
5. Can I remove the 3D-printed volume control if I don’t like it?
Yes, it can be easily removed without damaging your guitar. Just follow the installation steps in reverse.

