3D Print Acoustic Soundhole Volume Control: A Personal Journey
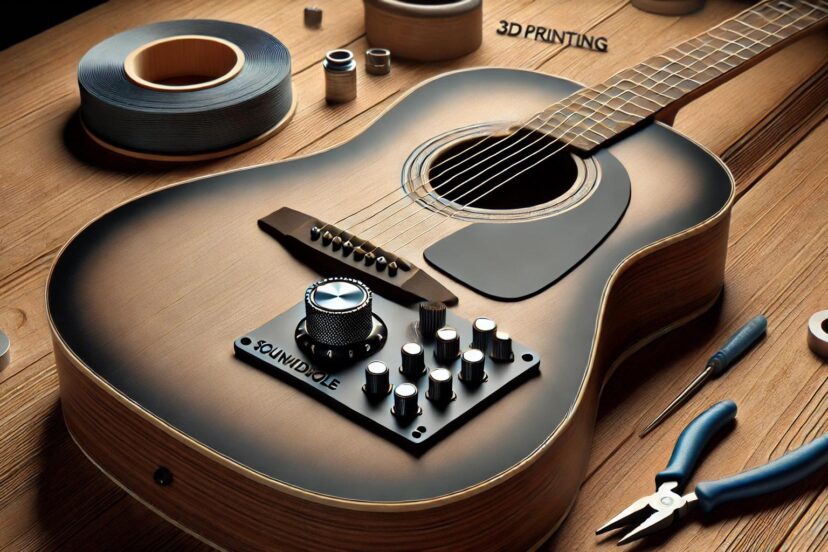
Hello there, music lovers! Imagine you’re in the middle of a beautiful acoustic guitar session then suddenly your volume messes with you. Either too loud or too soft, you just can’t seem to find the right blend for your jam. It kills the vibe, I know! Especially when you’re with the band then your guitar’s volume overpowers the vocals, worse, it’s barely audible. It can interrupt the performance. Every musician’s nightmare! But hey, there’s an easy fix for that. With a 3D Print Acoustic Soundhole Volume Control, you can be the boss. Have that power to control your sound! Let’s talk more about that in this article.
What’s the Deal with Acoustic Soundhole Volume Control?
So, here’s the scenario… you’re strumming your favorite acoustic guitar at a cozy coffee shop gig, and suddenly you need to dial down the volume without missing a beat. Sounds like an easy thing to do but when you’re in the middle of a performance, it kinda gets complicated. Thankfully an acoustic soundhole volume control can save the day. It’s like the magic knob that lets you control your guitar’s loudness without breaking a sweat. No one will even notice!
Why Bother with 3D Printing?
Think about it… why go through all the hassle of 3D printing when you can just buy one? I completely understand where you’re coming from. But let me tell you this… Traditional volume controls are like trying to fit a square peg into a round hole – they just don’t always fit right. But with 3D printing, you can craft a volume control that’s specially made for your guitar, as unique as your favorite playlist. Adding a personal touch with your favorite guitar is super cool!
In recent years, the potential of 3D printing technology in the realm of musical instruments has garnered significant attention. According to a comprehensive review on ResearchGate, this innovative technology offers unprecedented opportunities for customization, precision, and material optimization in instrument manufacturing. Additionally, the Plastic Fantastic Project spearheaded by the University of Oxford, showcases how 3D printing can be employed to replicate and preserve fragile musical instruments, thus safeguarding their acoustic integrity while making them more accessible for study and performance. These advancements not only enhance the quality and durability of instruments but also open new avenues for musicians and researchers alike.
Taking the First Step in 3D Printing
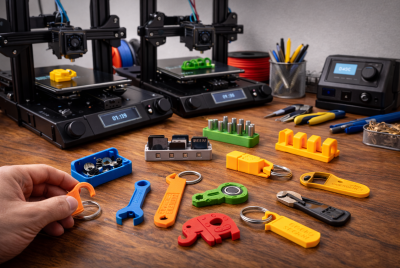
3D printing is one of my favorite hobby. Did a lot of cool stuff like toys, home decor, etc. I remember the first time I saw a 3D printer in action. I’m amazed at how cool this tech is! It’s like watching your cold ideas come to life. If you’re new to this, don’t worry about it. Nobody started as an expert by the way. So chill! Start with a simple 3D printer and some beginner-friendly software. You’ll find a treasure trove of online tutorials to guide you, and before you know it, you’ll be printing like a pro.
Designing Your Masterpiece
Designing a soundhole volume control is hard work. Yes, it is. Imagine you’re a sculptor but with a digital chisel. The first step is to measure your guitar’s soundhole. Grab a ruler, get the dimensions, and start visualizing your design. Want something sleek and simple? How about a touch of your personality? Think about how you want it to look like. You decide!
Choosing Your Material
When it comes to materials, you’ve got tons of options. You can even find them on Amazon! PLA is like the friendly neighborhood material – easy to work with and eco-friendly. ABS, on the other hand, is the tough guy, more durable but needs a bit more finesse. It’s like choosing between a comfy hoodie and a leather jacket. When I first started in 3D printing, I picked PLA for my first project because it’s easy to use.
Printing the Dream
Here comes the fun part – printing your design. Make sure your printer settings are dialed in, and your design file is ready to go. Sure, it can take a couple of tries (hey, don’t worry about it), but that’s all part of the journey. We learn from our mistakes, right? I remember my first print; it was a bit wobbly (looked hilarious), but I was as proud as a peacock. Hey, that’s my first craft! Not perfect but I had so much fun.
Final Touches for Your 3D Volume Control
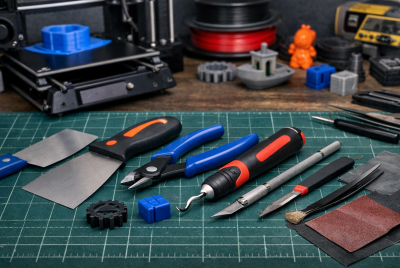
Once your volume control is printed, it’s time for a little TLC. Sand down any rough edges and add a finish if want it to look extra fancy. Think of it as if you’re tuning a guitar before a performance… you want it to be just right.
Installing the Volume Control
Installing your new gadget is usually a breeze. Most designs fit snugly into the soundhole, but you might need to do a little tweaking. Think of it like fitting a key into a lock – it should slide in smoothly but securely.
Testing, Testing, 1, 2, 3
Alright, moment of truth. Play your guitar and see how the volume control works. You won’t know if it works without even trying it first. Make sense? Adjust and experiment. See what sounds best. It’s like finding the perfect seasoning for your favorite dish – a little tweak here and there makes it just right.
Make It Yours
One of the best things I love about 3D printing is customization. It allows you to build something that suits your needs. Want your volume control to have your band’s logo or a funky pattern? Okay. Go for it! Personalization is key. No one can stop you now.
Why You’ll Love It
Having a soundhole volume control is a no-brainer. It gives you control over your sound, makes playing more enjoyable, and can even protect your guitar from overplaying. It’s like having a secret weapon up your sleeve. No more awkward performances.
Products to Consider
Acoustic Soundhole Volume Control Kit – Customizable design, easy installation, includes multiple control options.
Adjustable Soundhole Cover – Adjustable volume control, lightweight PLA material, fits most standard soundholes.
Custom Fit Soundhole Volume Regulator – Tailored to specific guitar models, sleek design, durable ABS material.
Universal Acoustic Guitar Volume Control – Universal fit, multiple color options, simple installation process.
Sound Hole Cover for Acoustic Electric Guitar – DIY assembly, step-by-step instructions, customizable for personal design preferences.
Bumps in the Road
Like any adventure, there might be a few bumps along the way. Maybe your design isn’t perfect, or the print doesn’t come out right. Don’t throw in the towel! These challenges are just part of the learning curve. Every mistake is an opportunity to learn, don’t forget that!
Keeping It in Shape
Once your volume control is in place, take care of it. Check for wear and tear, clean it now and then, and make sure it’s in top shape. A little maintenance goes a long way.
Creative Sparks
The 3D printing community is buzzing with creativity. Join groups or forums online. You can get lots of tips and suggestions there! Explore different designs and ideas. Don’t limit yourself to just one. You might stumble upon something that sparks your imagination and takes your project to the next level.
Check this out:
Changing the Game
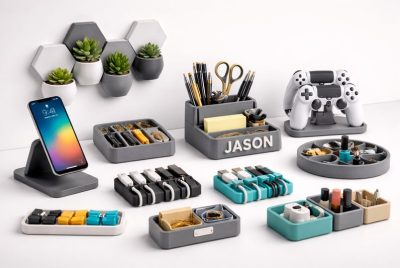
3D printing isn’t just a hobby; it’s a revolution. Musicians can create custom gear that was once unimaginable. Your 3D-printed volume control is a small but significant part of this exciting change. You can even 3D print your favorite toy, some mythical creatures, and home decor if you want!
Wrapping It Up
Alright, musical peeps, there you have it! Your guide to 3d print acoustic soundhole volume control. A real journey of creativity, technology, and music all rolled into one. Give it a shot, and you might just fall in love with the process. It won’t hurt if you try, trust me! What if you 3D print a whole guitar? It’s really up to you. Feed your creativity and turn your imagination into reality now!
FAQs About 3D Print Acoustic Soundhole Volume Control
1. What’s the best material for this project?
PLA is user-friendly and eco-friendly, while ABS is tougher but trickier to work with. Choose what suits your vibe.
2. Do I need an expensive 3D printer?
Nope, a basic one will do the trick. Just make sure it can handle the details.
3. Can I personalize the design?
Sure you can! Customization is one of the best parts of 3D printing.
4. How do I ensure a perfect fit?
Measure twice, print once. Accurate measurements are key.
5. Is installation difficult?
Not at all. Most designs are easy to install, but some might need a little tweaking.
Go ahead and unleash your inner maker. Don’t forget to add a touch of tech to your musical adventures! Happy jamming!

