Best Paint for 3D Prints That Actually Stick (PLA, ABS & Resin)

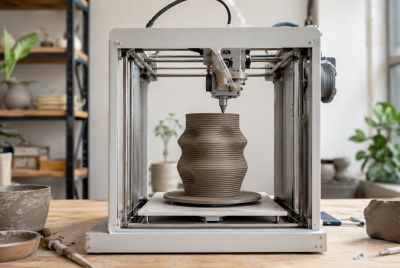
3D printing lets you create useful parts, models, and custom designs. However, a print rarely looks finished straight off the printer. Paint adds color, protects the surface, and gives your project a clean, polished look. The most important step is selecting the best paint for 3D prints that bonds properly with common 3D printing materials such as PLA, ABS, and resin. In this guide, you will learn which paints perform reliably and how to apply them so your prints look better and last longer.
Why Choosing the Right Paint for 3D Prints Matters
Not all paint sticks to plastic. That’s the simple truth.
3D printing materials like PLA and ABS have smooth, non-porous surfaces. Because of that, paint struggles to grip them unless you use the right formula and preparation method.
The right paint delivers:
- Strong adhesion
- Smooth finish
- Scratch resistance
- Long-lasting color
- Professional appearance
More importantly, good paint protects your print. It adds a thin barrier against moisture, UV light, and everyday wear.
So instead of repainting every few weeks, you get results that last.
What Makes Paint Stick to PLA, ABS, and Resin?
Paint adhesion depends on three key factors:
Surface texture
Chemical compatibility
Proper curing
Let’s keep it simple.
Smooth plastic gives paint very little to hold onto. That’s why sanding and priming matter so much. Once you create a slightly rough surface, paint bonds much more effectively.
Environmental conditions like temperature and humidity can also affect the final finish. For example, high humidity can slow drying time and weaken adhesion.
Therefore, the best results come from combining the right paint with proper preparation.
Types of Paint That Work Best on 3D Prints
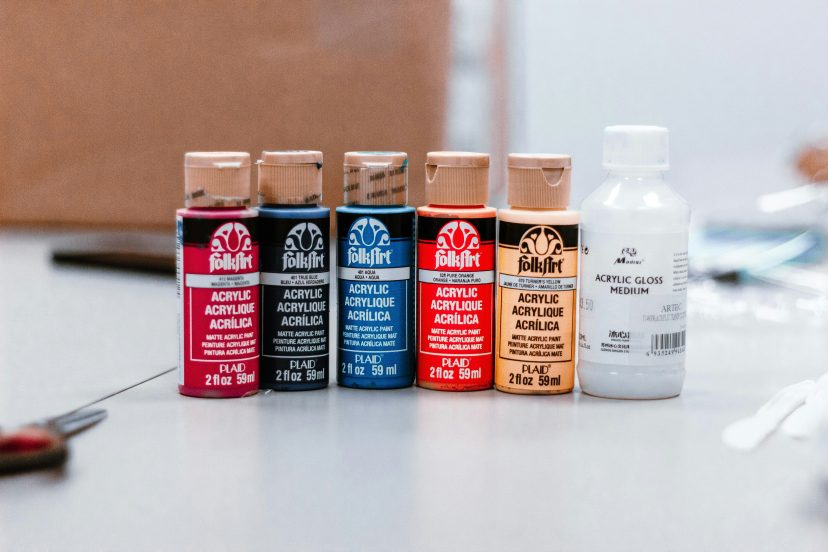
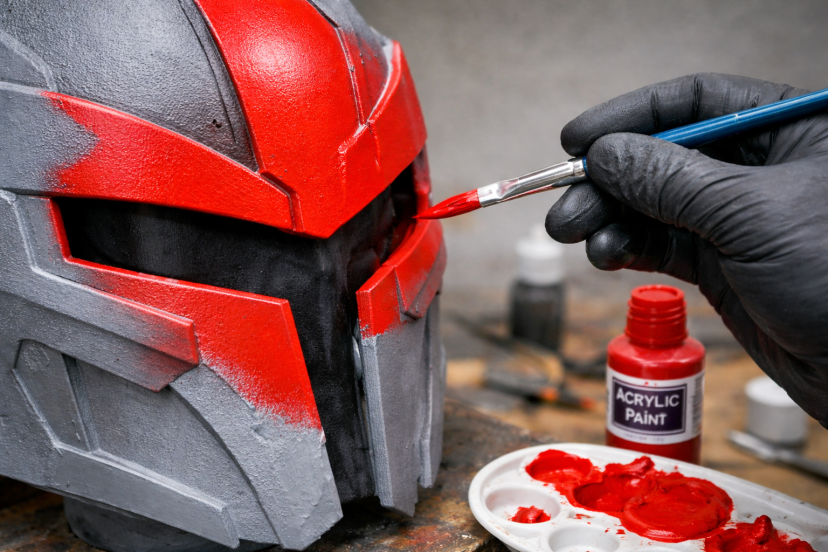
Acrylic Paint
Acrylic paint is the most popular option for beginners and hobbyists.
It dries quickly, cleans up easily, and produces vibrant colors. Even better, it works well on PLA, ABS, and resin when applied over primer.
Why people love it:
- Easy to use
- Low odor
- Fast drying
- Affordable
For detailed models and miniatures, acrylic paint is usually the safest choice.
Spray Paint
Spray paint delivers the smoothest finish with the least effort.
It spreads evenly and covers large surfaces quickly. That makes it ideal for helmets, props, and large prints.
However, surface preparation is critical. Without primer, spray paint may peel.
Still, when used correctly, spray paint produces professional results.
Enamel Paint
Enamel paint stands out for its long-lasting performance.
It takes longer to dry, but it creates a tough, glossy finish that resists scratches and moisture.
That’s why many experienced makers use enamel paint for functional parts and outdoor prints.
Specialty Model Paint
Model paints are designed for plastic surfaces.
They offer excellent coverage and fine detail control, especially for miniatures and figurines.
Although they cost slightly more, they deliver consistent results.
The Best Paint for 3D Prints
Here are five reliable paints that consistently perform well across different materials.
1. Rust-Oleum Painter’s Touch 2X Ultra Cover Spray Paint
This paint is a favorite among hobbyists for a reason.
It provides strong adhesion and smooth coverage on plastic surfaces. It also sets relatively fast and holds up well against chips and wear.
Best for:
- Large prints
- Functional parts
- Decorative items
2. Vallejo Model Color Acrylic Paint Set
Vallejo paints are widely used in miniature painting and scale modeling.
They offer excellent pigment quality and smooth application. More importantly, they provide precise control for detailed work.
Best for:
- Miniatures
- Figurines
- Fine details
3. Krylon Fusion All-In-One Spray Paint
Krylon Fusion is designed specifically for plastic.
Because of that, it bonds well without complicated preparation. It also provides durable, weather-resistant finishes.
Best for:
- Outdoor prints
- Functional objects
- Quick projects
4. Testors Enamel Paint Set
Testors has been a trusted name in modeling for decades.
Its enamel formula creates a glossy, long-lasting finish that stands up to wear and handling.
Best for:
- Durable parts
- Mechanical components
- High-use prints
5. Tamiya Color Acrylic Paint
Tamiya paints deliver consistent results with smooth coverage.
They dry quickly and produce professional-looking finishes, even for beginners.
Best for:
- Hobby projects
- Display models
- Detailed designs
How to Prepare 3D Prints Before Painting
Preparation makes or breaks your final result.
Skipping this step is the number one reason paint fails to stick.
Follow these simple steps:
1. Sand the surface – Use medium-grit sandpaper to remove layer lines.
2. Clean the print – Remove dust and oils using isopropyl alcohol.
3. Apply primer – Primer improves adhesion and smoothness.
4. Let it dry completely – Patience here saves time later.
Step-by-Step Guide to Painting 3D Prints Like a Pro
You don’t need fancy tools or years of experience to get professional-looking results. What really matters is following a simple, consistent process. When you take your time and work in stages, your paint sticks better, looks smoother, and lasts much longer.
Step 1 — Apply Primer
Primer is the starting point of any good paint job. It helps paint stick to plastic and creates an even base for color. More importantly, it reveals small imperfections like layer lines or scratches so you can fix them early.
Apply primer in a light, even coat and let it dry fully before moving on. This step may feel small, but it makes a huge difference in how your final finish turns out.
Step 2 — Apply Thin Coats
The biggest mistake beginners make is using too much paint at once. Applying paint too heavily can cause runs, rough patches, and extended drying times. Instead, build color gradually using thin layers.
Lighter coats dry more quickly and leave a more even, polished look. After two or three passes, you’ll usually get full coverage without the mess.
Step 3 — Allow Dry Time
Patience is key here. Even if the paint feels dry on the surface, it still needs time to cure underneath. Rushing this step can cause smudges, fingerprints, or weak adhesion.
Do not add a new layer until the current one has dried completely. Waiting a little longer now saves you from redoing the job later.
Step 4 — Seal the Surface
A clear coat is the final step that protects your hard work. It adds durability, helps prevent scratches, and improves the overall appearance of the print. Whether you prefer a matte, satin, or glossy finish, sealing the surface makes the paint job look more complete and last much longer.
Simple rule to remember: Prime first, paint in thin layers, allow proper drying time, and finish with a protective seal. Follow that routine, and your 3D prints will consistently look cleaner and more professional.
Common Painting Mistakes to Avoid
Even experienced makers make these mistakes sometimes.
Here are the most common ones:
- Skipping sanding
- Using the wrong paint
- Applying thick coats
- Painting in humid conditions
- Not using primer
Fix these issues, and your results improve instantly.
Why Proper Surface Prep Makes Paint Stick to 3D Prints
If you’ve ever painted a model and watched the finish start to chip or peel, you already know how frustrating that can be. Most of the time, the problem isn’t the paint itself — it’s the surface underneath. Smooth plastics like PLA, ABS, and resin don’t naturally hold paint very well. However, a few simple preparation steps can completely change the outcome.
Research consistently shows that sanding and surface preparation improve adhesion on 3D printed plastics. One well-known study on surface preparation in adhesive bonding of 3D printed materials found that increasing surface roughness helped coatings grip plastic more effectively and improved long-term durability. In other words, lightly sanding your print gives the paint something to hold onto, which reduces peeling and flaking later.
Another widely cited review on surface treatment methods for improving bonding strength of polymer materials reached a similar conclusion. The researchers explained that cleaning, abrasion, and priming significantly improve coating performance and resistance to wear. These steps help paint bond more securely, especially on non-porous materials like PLA and ABS.
The takeaway here is refreshingly simple:
Preparation matters more than most people think.
Spend a few extra minutes sanding and priming your print, and you’ll usually see a smoother finish, stronger adhesion, and better durability. That small effort often makes the difference between a paint job that looks good for a week and one that still looks sharp months down the line.
Final Thoughts
Painting your prints is one of the easiest ways to improve their look and durability. With the right paint and proper preparation, even simple models can look clean and professional. You do not need expensive tools or complicated techniques. Focus on good surface prep, apply paint in thin layers, and allow enough time for drying.
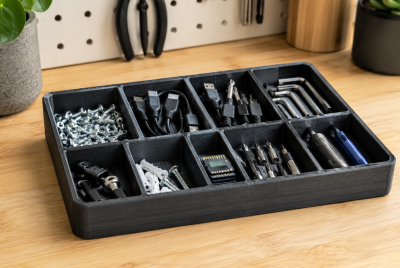
Once you build this routine, the results become consistent. Your prints will hold color better, resist wear, and look more polished overall. Start with reliable materials, practice the process, and you will see steady improvement with every project. If you are looking for practical projects to paint and customize, check out these creative 3D printed storage ideas for organizing your workspace.
FAQs
What is the best paint for 3D prints?
Acrylic and spray paints are the most reliable choices. They provide strong adhesion, smooth coverage, and easy application.
Do I need primer before painting 3D prints?
Yes. Primer significantly improves paint adhesion and durability.
Can I paint PLA without sanding?
You can, but results will be weaker. Sanding creates a better surface for paint to stick to.
How long should paint dry on 3D prints?
Most paints dry within 30 to 60 minutes. Keep in mind that complete curing can take up to 24 hours.
Does paint make 3D prints stronger?
Paint adds a protective layer, but it does not significantly increase structural strength.