How to Clean 3D Printer Nozzle Before It Clogs

A clogged nozzle can turn a clean 3D print into a stringy, under-extruded mess fast. First, the filament starts curling, then the layers look weak, and before you know it, the whole print fails halfway through. That is why learning how to clean 3D printer nozzle parts before they clog is so useful. With a few simple cleaning steps, you can keep filament flowing smoothly, prevent buildup, and avoid wasting time on failed prints.
Why Your 3D Printer Nozzle Gets Dirty
Your nozzle handles heat, pressure, melted plastic, color changes, additives, and constant movement. So, yes, it gets messy.
PLA, PETG, ABS, TPU, wood-fill, glow-in-the-dark, and carbon-fiber blends all behave differently. Some melt smoothly. Others leave more residue behind. Abrasive filaments can also wear down brass nozzles faster, which can lead to inconsistent extrusion.
A dirty nozzle usually comes from:
- Burnt filament stuck inside the nozzle
- Dust or debris on the filament
- Moisture in filament
- Printing at the wrong temperature
- Switching materials without purging properly
- Using old or low-quality filament
- Heat creep inside the hotend
- Worn nozzle openings
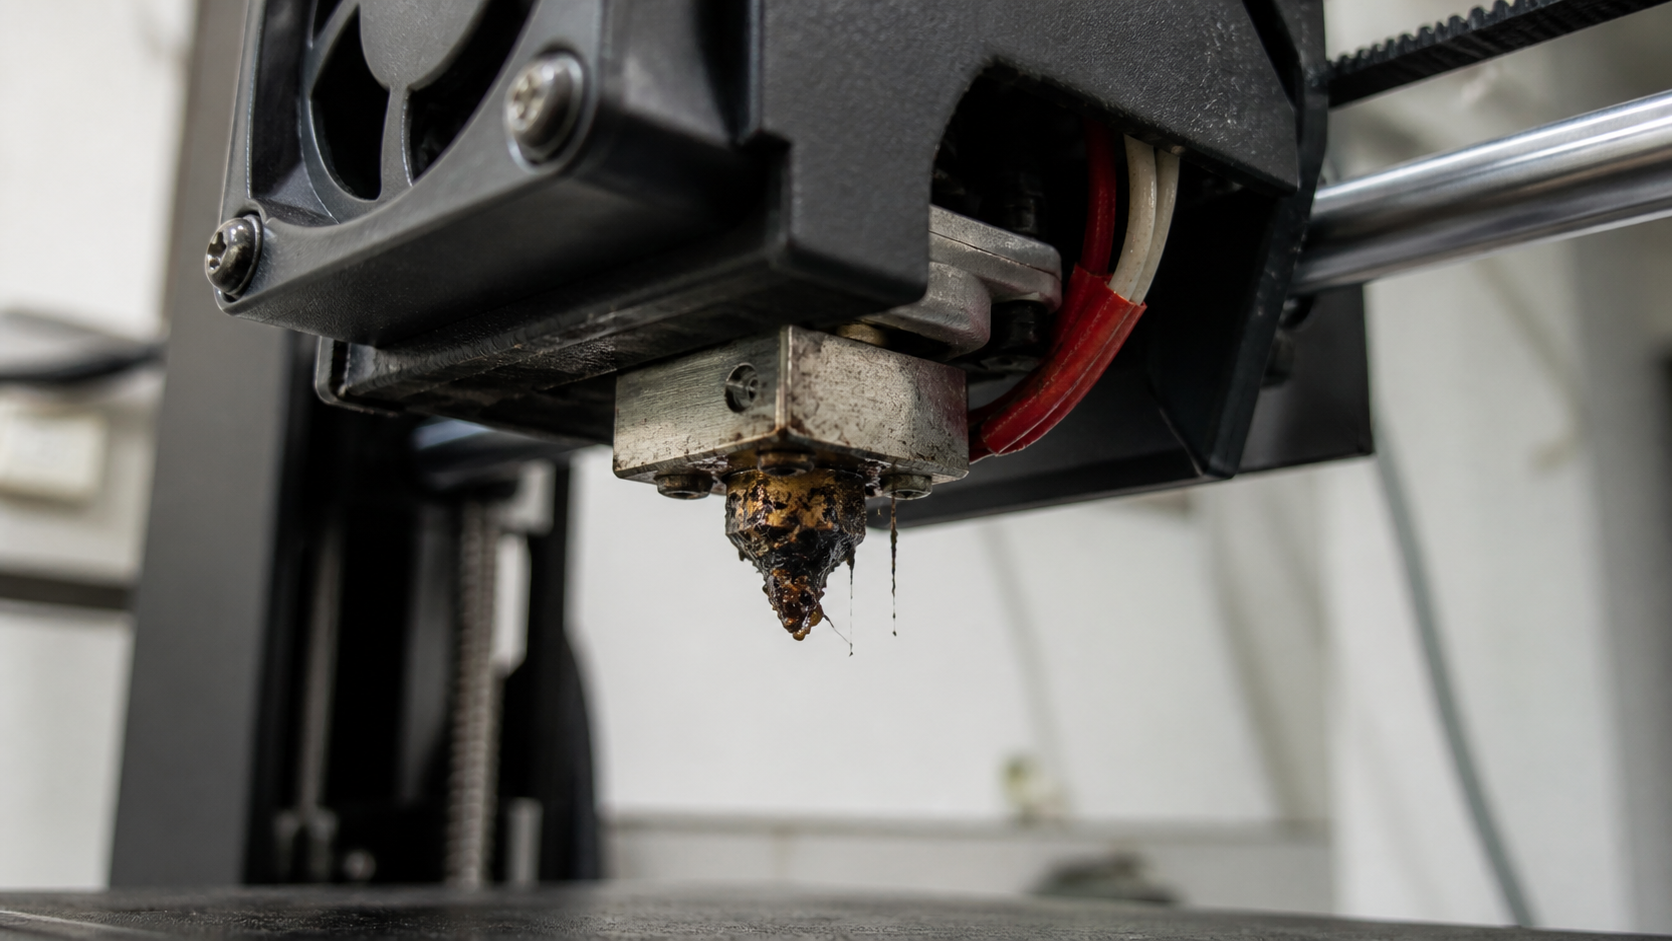
Tiny bits of plastic can stick to the inner wall of the nozzle. Over time, those bits reduce flow. Then pressure builds up. After that, your printer may start under-extruding, skipping, or producing weak layers.
Tools You Need to Clean a 3D Printer Nozzle
You do not need a giant repair bench. A small nozzle-cleaning kit usually covers the basics.
Useful tools include:
- Brass wire brush
- Nozzle cleaning needles
- Cleaning filament
- Tweezers
- Small wrench or socket
- Lint-free cloth
- Isopropyl alcohol
- Heat-resistant gloves
- Replacement nozzles
- Dry filament storage
How to Clean 3D Printer Nozzle Before It Clogs
Choose the cleaning method based on the buildup. Start with the gentlest method before moving to stronger cleaning steps.
Method 1: Wipe the Nozzle While It’s Warm
This method works well for soft plastic stuck around the outside of the nozzle.
Warm the nozzle to the recommended temperature for the filament you printed with most recently. For PLA, that may be around 200°C. For PETG, it may be closer to 230°C. Always follow your filament brand’s recommended range.
Once the plastic softens, gently wipe the outside of the nozzle with a folded lint-free cloth or thick paper towel. Use tweezers to remove strings or blobs.
Do not use your bare fingers. Melted filament sticks, and burns are not a fun souvenir.
This quick wipe keeps burnt plastic from collecting around the nozzle tip and dropping onto future prints.
Method 2: Use a Brass Brush for Outside Buildup
A brass brush is one of the easiest tools for hotend maintenance.
Warm the nozzle first. Then gently brush the outside surface in short strokes. Brass is softer than steel, so it is less likely to scratch a brass nozzle. Still, avoid brushing thermistor wires, heater cartridge wires, silicone socks, or delicate hotend parts.
This method helps remove cooked-on plastic around the nozzle tip. It also keeps old filament from causing random blobs on your print surface.
Use light pressure. Your goal is to clean the nozzle, not exfoliate it into retirement.
Method 3: Use a Nozzle Cleaning Needle
A cleaning needle can help when filament still comes out, but the flow looks thin or uneven.
Bring the nozzle up to the proper extrusion temperature. Then carefully insert the correct-size needle into the nozzle opening from below. Move it gently. Do not bend it sideways or jam it too far upward.
After that, extrude a little filament to push loosened debris out.
This method works best for light partial clogs. If your nozzle is fully blocked, a needle may not solve the issue alone. You may need a cold pull or nozzle removal.
Method 4: Try the Cold Pull Method
The cold pull method is one of the most trusted ways to clean inside a nozzle without disassembling the entire hotend.
Prusa describes a cold pull as a technique for removing stuck or burnt material from the nozzle and hotend. It often works well for partial clogs where some filament still extrudes.
How to Do a Cold Pull
- Set the nozzle to the standard temperature range for that filament type.
- Load PLA, nylon, or cleaning filament.
- Push filament through until it flows cleanly.
- Cool the nozzle down while keeping slight pressure on the filament.
- Reheat to the pull temperature.
- Pull the filament upward in one firm motion.
- Check the pulled end for dark residue or debris.
- Repeat until the pulled tip looks clean.
This method works especially well after switching from dark filament to light filament or from high-temperature materials to lower-temperature ones.
Method 5: Use Cleaning Filament
Cleaning filament is made to grab leftover material inside the hotend. It usually has a wide temperature range, so it works well between filament changes.
Use cleaning filament when:
- You switch between filament types
- You change from dark to light colors
- You print with filled or specialty filament
- You notice light under-extrusion
- You want preventive maintenance
To use it, heat the nozzle to the recommended temperature. Feed the cleaning filament through until the color looks clean. Then unload it or use it for a cold pull.
Cleaning filament is not magic, though. If your nozzle is completely blocked, it may not push through. In that case, use a cold pull, needle, or nozzle removal.
Safety First: Clean the Nozzle Without Hurting Yourself
Before you touch anything near the hotend, remember this: a 3D printer nozzle gets hot enough to burn skin fast.
NIOSH notes that 3D printing can involve heat hazards, moving parts, ultrafine particles, and chemical exposure, including during maintenance and cleaning activities. A study by Stephens et al. also found that desktop 3D printers can release ultrafine particles, especially when printing with ABS, so good ventilation matters when the hotend is heated.
Use heat-resistant gloves if needed. Also, use pliers or tweezers instead of your fingers when pulling away softened filament.
A few basic safety habits help a lot:
- Keep your printer stable while cleaning
- Do not force tools into the nozzle
- Avoid steel brushes on brass nozzles
- Turn off the printer before deep cleaning
- Let parts cool before removing them
- Work in a ventilated room
You want a clean nozzle, not a tiny workshop injury. Very glamorous, obviously.
When You Should Remove and Soak the Nozzle
Sometimes, the clog wins the first few rounds. If wiping, brushing, needles, cleaning filament, and cold pulls do not work, remove the nozzle.
Heat the hotend before loosening the nozzle because thermal expansion makes removal easier. Then power off the printer and let parts cool safely before handling them.
Once removed, soak the nozzle in isopropyl alcohol if the material allows it. For PLA residue, heat and mechanical cleaning usually work better than soaking alone. For some materials, you may need a manufacturer-approved solvent.
After soaking, gently clear the opening with a needle and wipe the nozzle clean.
If the nozzle opening looks worn, oval-shaped, scratched, or damaged, replace it. Nozzles are consumables. Sometimes the best cleaning method is admitting defeat and spending a few dollars on a fresh one.
How to Prevent Future Nozzle Clogs
Cleaning helps, but prevention saves more time.
Start by storing filament in sealed containers with desiccant. Wet filament can bubble, pop, string, and leave residue inside the nozzle.
Next, use the right temperature. Printing too cold can slow filament flow, while printing too hot can burn plastic and leave buildup.
Also, purge the nozzle when switching materials, especially from PETG to PLA. Leftover high-temperature filament can cause partial clogs.
Use decent-quality filament, too. Poor filament may contain dust, moisture, or inconsistent diameter.
Finally, clean your nozzle before important prints. Once the flow looks smooth, try a simple project like a 3D printed coaster to test clean lines and surface finish.
Conclusion
A clean nozzle can make the difference between smooth, reliable prints and frustrating failures. By checking for early warning signs, cleaning buildup before it hardens, using the right temperature, storing filament properly, and purging between material changes, you give your printer the best chance to perform well. Once you know how to clean 3D printer nozzle parts safely, maintenance becomes a simple habit instead of a stressful repair. Keep the nozzle clean, and your prints will reward you with better flow, stronger layers, and cleaner results.
FAQs
1. How regularly does a 3D printer nozzle need cleaning?
Clean the outside of the nozzle every few prints if you notice buildup. Use cleaning filament or a cold pull after switching materials, printing abrasive filament, or seeing early signs of under-extrusion.
2. What is the best way to unclog a 3D printer nozzle?
For a partial clog, the cold pull method usually works well. For light clogs, try a nozzle cleaning needle. For stubborn clogs, remove the nozzle and clean or replace it.
3. Can I use a steel brush on a brass nozzle?
It is better to use a brass brush. Steel can scratch softer brass nozzles and may damage nearby hotend parts if you brush too aggressively.
4. Does cleaning filament really work?
Yes, cleaning filament can help remove leftover material and reduce buildup, especially between filament changes. However, it may not fix a fully blocked nozzle.
5. How do I know it is time to change my 3D printer nozzle?
Replace the nozzle when cleaning no longer improves extrusion, the opening looks worn, prints show constant under-extrusion, or abrasive filament has enlarged the nozzle hole.