How To Print Transparent 3D Prints
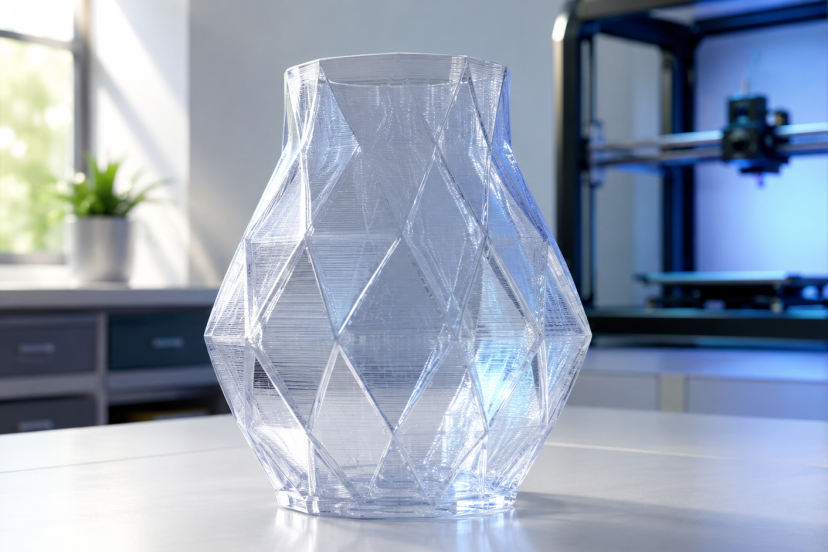
Transparent 3D prints look simple until you try to make one. A spool may say “clear,” yet the finished object often comes off the bed cloudy, frosted, or filled with visible layer lines. That result does not mean the material failed. Each layer, air gap, and rough surface scatters light instead of letting it pass straight through.
You can still create attractive see-through parts at home. The key is to choose the right process, design for clarity, tune the printer, and finish the surface. This guide covers filament and resin printing, with an emphasis on common FDM machines.
What Does Transparent Mean in 3D Printing?
A truly transparent part lets you see a clear image through it. A translucent part passes light but blurs whatever sits behind it. Most clear FDM prints are translucent straight off the build plate.
FDM printers stack rounded lines of molten plastic. Tiny gaps and layer boundaries bend and scatter light. A textured outer surface adds even more distortion. Therefore, material color alone cannot produce optical clarity.
Resin printers create thinner layers and smoother surfaces, so clear resin can reach near-transparent results more easily. Orientation and finishing still affect the outcome.
Choose the Right Material and Printing Method
Clear PETG for accessible FDM printing
Clear PETG offers the best starting point for most filament printers. It bonds well between layers, has a naturally glossy finish, and usually transmits light better than clear PLA. UltiMaker’s in-depth guide to printing clear plastic parts also recommends transparent PETG as the practical choice for translucent FDM parts.
Clear PLA often looks milky. Polycarbonate offers good optical properties and heat resistance, but needs higher temperatures and often an enclosure. Start with PETG unless your printer handles engineering plastics reliably.
Moisture creates bubbles and haze, so dry filament that pops or extrudes roughly. Store opened spools with desiccant. This guide to filament storage containers explains practical storage options.
Clear resin for finer, clearer parts
Choose clear resin for lenses, display pieces, fluid models, or small objects that need better visibility through the walls. Prusa notes in its overview of 3D-printing resins that clear resin starts semi-transparent and can become nearly fully transparent through post-processing.
Resin requires gloves, ventilation, washing, and controlled UV curing. It may yellow after over-curing or prolonged sunlight exposure.
Design the Model for Clarity
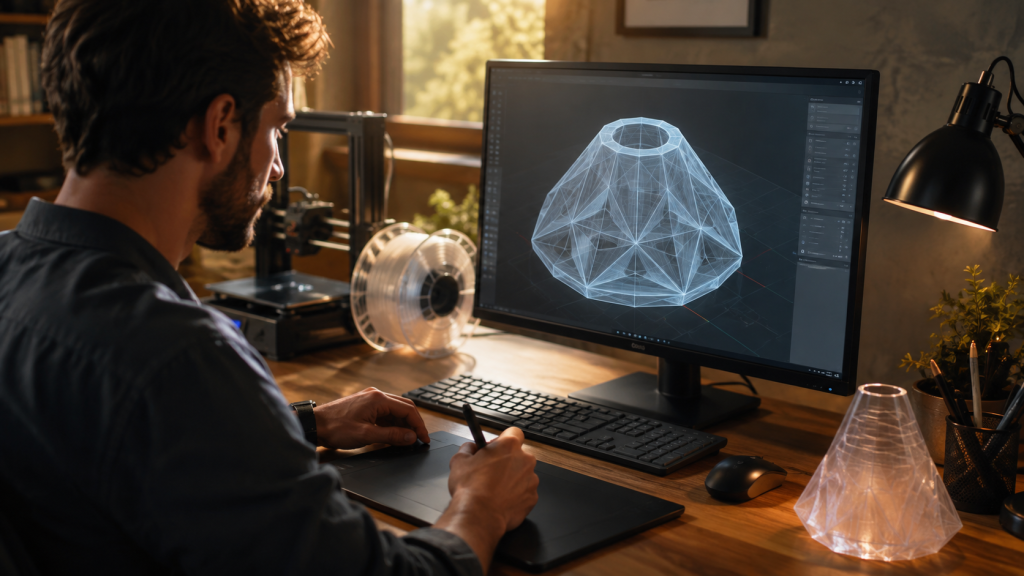
Simple geometry gives light fewer obstacles. Use flat or gently curved viewing surfaces, consistent walls, and minimal internal structure. Details, sharp curves, and dense infill create distortion.
For a hollow cover or lamp shade, use continuous walls without infill. A solid piece may need 100% aligned infill, though bands can remain. Vase mode often looks clearer because it creates one uninterrupted spiral wall.
Place the main viewing face against a smooth build plate when practical. Avoid supports on clear surfaces because they leave scars.
If you are still learning how models become physical layers, this introduction to 3D printing basics provides useful background before you change advanced slicer settings.
Best FDM Settings for Transparent 3D Prints
Treat the following values as starting points, not fixed rules. Filament brands, hotends, and thermistors vary.
- Nozzle temperature: Use the upper half of the manufacturer’s PETG range, often about 235–250°C. Better fusion can reduce visible boundaries.
- Layer height: Try 0.15–0.20 mm with a 0.4 mm nozzle. Extremely thin layers add more light-scattering interfaces.
- Print speed: Slow outer walls to roughly 20–30 mm/s.
- Cooling: Use low or moderate fan speed unless bridges require more air. Excessive cooling may prevent the layers from bonding properly.
- Flow: Calibrate first, then test a small increase of 2–5%. Over-extrusion can ruin dimensions, so do not guess on a large model.
- Walls and infill: Use one continuous wall for thin translucent shells or 100% aligned infill for solid parts.
- Seam: Place it on a hidden edge instead of scattering it across the surface.
Print a small test tile after each major change. Hold it over text or backlight it, then record the settings.
How to Print Clear PETG Step by Step
Dry the filament according to its maker’s instructions. Purge old material until the nozzle produces a clean strand.
Clean the build surface and use the recommended release layer. PETG can grip smooth PEI or glass too strongly, so follow the printer maker’s guidance. Calibrate the first layer without crushing it.
Slice a clarity test with slow walls, steady extrusion, limited cooling, and a hidden seam. Print it, inspect it under backlighting, and change only one variable at a time. Once the test looks even and bubble-free, print the final model in the same filament condition.
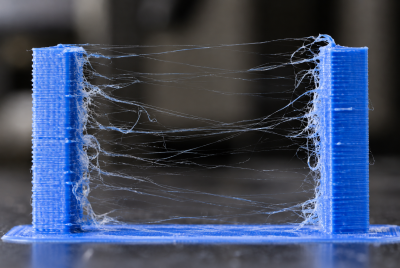
Do not chase clarity by raising temperature indefinitely. Brown streaks, excessive stringing, sagging details, or a burnt smell mean you have gone too far.
Sanding, Polishing, and Clear Coating
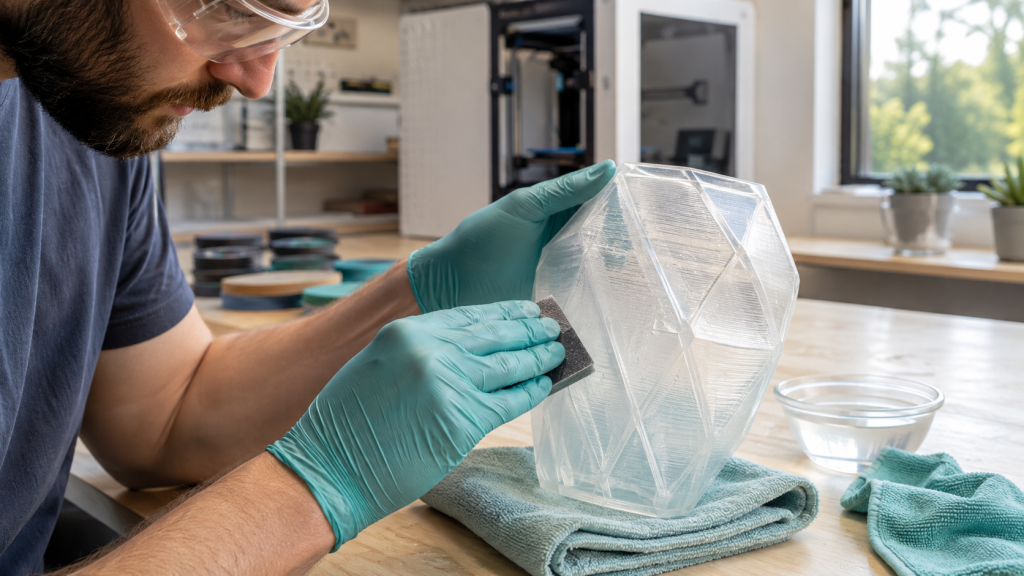
Every ridge acts like a tiny diffuser. Remove supports and blobs, then wet-sand through progressively finer grits, such as 400 to 2,000. Keep the part wet and use light pressure.
Follow with a plastic polishing compound and a soft microfiber cloth. Polishing works best on broad, accessible faces. Deep recesses may stay cloudy.
A compatible gloss clear coat can fill microscopic scratches. Test it on a failed print because some solvents damage plastic. Apply light coats with good ventilation.
For resin, many makers apply a thin layer of the same clear resin or a UV-resistant gloss coat after sanding. Rotate the part while curing the coating so it does not pool. Always wear protective gloves when handling resin that has not fully cured.
Common Problems and How to Fix Them
Cloudy layers: Dry the material, raise nozzle temperature slightly, reduce cooling, and slow the walls.
Bubbles inside the print: Moist filament is the usual cause. Dry it and confirm the nozzle is not partially clogged.
Visible infill: Remove infill from hollow models or align solid infill consistently. Redesigning the part may work better than endless slicer changes.
Yellow clear resin: Reduce unnecessary UV exposure and use a UV-resistant coating. Some clear resins naturally amber more than others.
A clear part turns frosted after sanding: You stopped too early. Continue through finer grits, polish the surface, or apply a tested gloss coating.
Recommended Products for Transparent 3D Printing
Availability and formulations can change, so confirm diameter, printer compatibility, safety information, and the selected color before ordering.
- SUNLU Clear PETG Filament, 1.75 mm — A practical starting material for translucent FDM shells, containers, and lighting projects.
- Polymaker Clear PETG Filament, 1.75 mm — A useful alternative when consistent extrusion and good layer bonding matter.
- Siraya Tech Clear 3D Printer Resin — Better suited to detailed transparent resin parts than filament-based projects.
- 3M Wetordry Assorted Sandpaper — Progressive wet sanding helps flatten layer texture before polishing or coating.
- NOVUS Plastic Polish Kit — Designed for cleaning and polishing plastic surfaces after fine sanding.
Conclusion
Successful transparent 3D prints come from controlling how light moves through the material. Clear PETG, simple walls, dry filament, slow and consistent extrusion, and careful finishing can produce impressive FDM results. Clear resin offers a shorter path to near-transparent small parts, although it demands stricter handling and post-processing.
Start with a test tile, change one setting at a time, and define the clarity your project actually needs. A softly diffused lamp shade and a see-through display window require very different results. Once you set the right target, the process becomes far more predictable.
FAQs
Can an FDM printer make completely clear parts?
Not easily. Clear PETG can become highly translucent or reasonably see-through, but layer boundaries usually prevent glass-like optical clarity. Resin printing or a traditional clear sheet may suit demanding optical uses better.
Is clear PETG better than clear PLA?
Usually, yes. PETG tends to fuse into glossier, clearer layers. PLA remains easier for many beginners, but it often produces a frosted appearance.
Should I use 100% infill for transparent 3D prints?
Use it only when the model must be solid. Hollow parts with continuous walls often transmit light better. When you need a solid part, use aligned infill and tune flow carefully to limit internal gaps.
Does a smaller layer height make a print clearer?
Not automatically. Smaller layers smooth some curves but create more interfaces through the part. Test several heights because wall quality and layer fusion matter more than choosing the smallest number.
Can I use transparent 3D prints as safety lenses?
Do not assume a home-printed part meets standards for eyewear, lasers, vehicles, pressure vessels, or protective equipment. Use certified materials and tested components for safety-critical applications.