3D Printing Warping: Causes and Easy Fixes
A print can look perfect for the first hour and still fail because one corner slowly starts lifting from the bed. That small curl is often the first sign of warping, a common 3D printing problem caused by uneven cooling, weak bed adhesion, or both. It can leave the base uneven, throw off dimensions, and ruin larger parts entirely. The first step is identifying what is actually causing the issue. By checking the first layer, bed temperature, cooling, room conditions, and material behavior, you can usually stop warping before it becomes a recurring frustration.
What Is 3D Printing Warping?
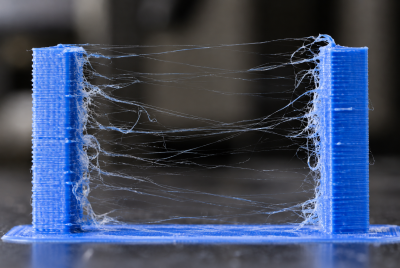
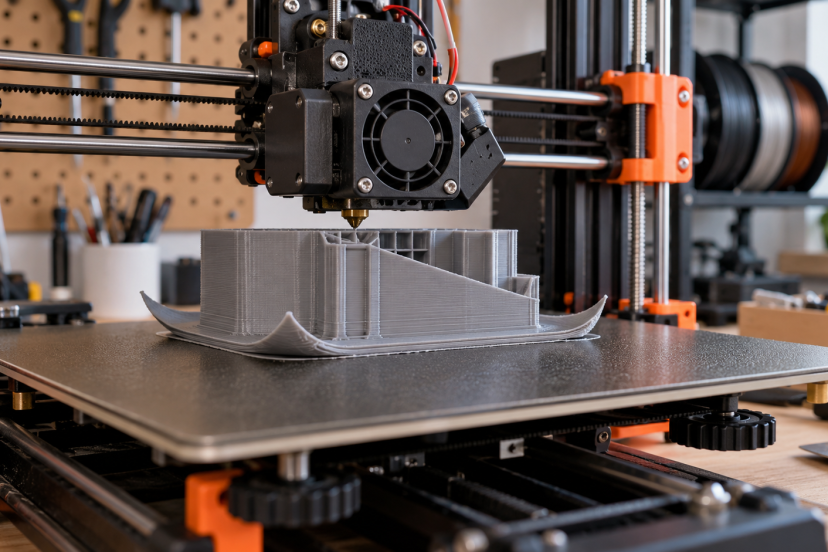
Warping happens when part of a print bends upward or pulls away from the build plate, usually at the corners or along long edges.
The main cause is thermal contraction. As hot filament cools, it shrinks. Research on thermal deformation and ABS warping shows that uneven temperature changes can contribute to deformation, while studies on thermal behavior in additive manufacturing link repeated heating and cooling to residual stress inside printed parts.
When that stress becomes stronger than the model’s grip on the build plate, the edges begin to lift.
Why Does Warping Happen?
Warping usually comes from a combination of factors rather than one obvious mistake.
Common causes include:
- A dirty build plate
- Incorrect Z-offset
- Poor bed leveling
- Bed temperature that is too low
- Cold air or drafts
- Excessive cooling
- Large, flat models
- Sharp corners
- High infill density
- Filaments with strong shrinkage
This is why applying more glue does not always solve the problem. If cold air from a fan is cooling one side of the print, stronger adhesive may only delay the lifting.
Start with first-layer quality, then move on to temperature and cooling.
Clean the Build Plate First
A clean build surface is essential for reliable adhesion.
Fingerprints leave behind oils that can weaken the bond between the first layer and the bed. Dust, old adhesive, and filament residue can cause similar problems.
The surface may look clean while still having enough contamination to affect a print.
Follow the cleaning instructions for your build plate. Many PEI surfaces can be cleaned with warm water and dish soap when heavily contaminated. For quick maintenance between prints, many users wipe the surface with isopropyl alcohol.
After cleaning, keep your hands off the print area to avoid leaving oils behind.
Cleaning takes only a few minutes, so it should be one of the first things you check before adjusting slicer settings.
Level the Bed and Check Your Z-Offset
Even a perfectly clean bed will struggle if the nozzle is too far from the surface.
The first layer should press gently against the build plate. If the nozzle is too high, the filament may look rounded and leave gaps between lines. If it is too low, the first layer may appear thin, rough, or scraped.
Automatic bed leveling can compensate for small differences, but it cannot always fix loose hardware or a badly tilted bed.
If one side of your first layer looks better than the other, review these 3D printer bed leveling tips before changing other settings.
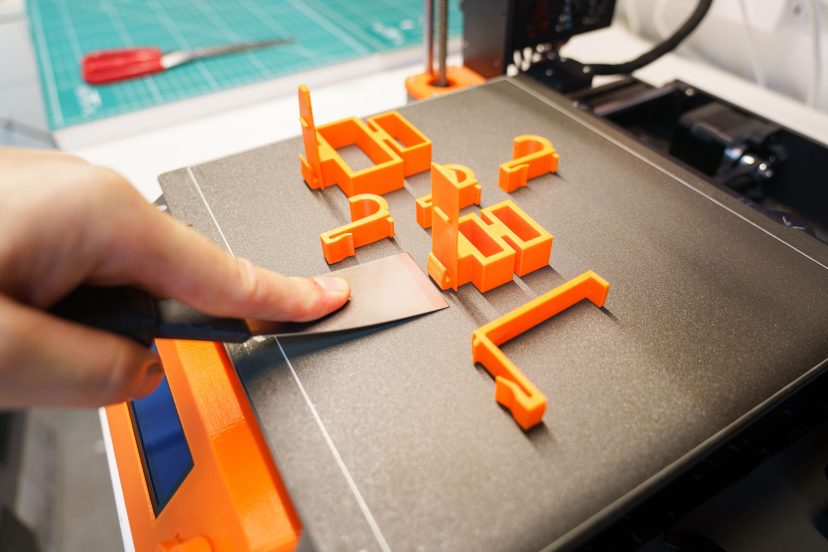
A good first layer should look smooth, connected, and evenly pressed across the print area.
Adjust the Heated Bed Temperature
A heated bed does more than improve adhesion. It also slows the cooling of the lower layers.
That matters because rapid temperature changes increase shrinkage and internal stress.
Begin with the bed temperature range suggested by the filament maker. If corners continue to lift, increase the temperature in small steps.
For example, moving from 55°C to 60°C is a more sensible test than making a large jump outside the recommended range.
Raising the bed temperature too much can create new print problems instead of fixing the original one. Excessive bed temperature can soften the lower layers and cause dimensional problems.
Adjust one setting at a time and check how the print responds.
Control Room Temperature and Drafts
Sometimes the printer is set up correctly, but the room is working against it.
An open window, ceiling fan, or air conditioner can cool one side of the model faster than the other. That uneven cooling can create enough stress to pull the print away from the bed.
This is especially common with ABS, ASA, and polycarbonate.
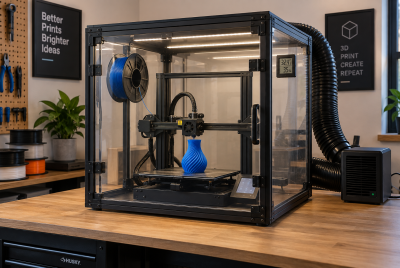
An enclosure can help by reducing drafts and keeping the air around the print more stable. For high-shrink materials, that controlled environment can make a noticeable difference.
PLA usually does not need the same level of heat retention. In fact, it can perform poorly if an enclosure becomes too warm.
Use the Right Cooling Settings
Part cooling is useful, but too much airflow can make warping worse.
Rapid cooling causes fresh layers to shrink faster. That can increase the pulling force on the base of the model.
PLA usually benefits from stronger cooling after the first few layers.
PETG often works well with moderate cooling.
ABS and ASA generally prefer limited cooling because they are more sensitive to temperature changes.
It is also common to reduce or disable cooling during the first few layers. This gives the base more time to bond firmly before airflow increases.
Start with a reliable material profile rather than using the same fan setting for every filament.
Add a Brim or Mouse Ears
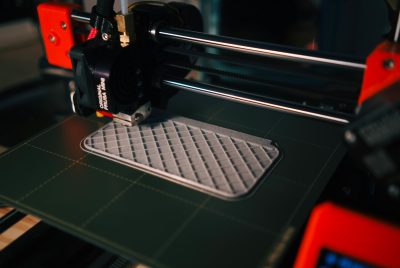
A brim is one of the simplest ways to improve adhesion on difficult prints.
It adds extra lines around the outside of the model’s first layer. This increases the surface area attached to the build plate and makes it harder for the corners to lift.
Brims are especially useful for large models, narrow bases, and sharp corners.
Mouse ears are another option. These are small circular pads added only to corners that are likely to warp.
They use less material than a full brim and can be easier to remove afterward.
If a print repeatedly lifts in the same areas, adding a brim or mouse ears is often worth trying before making major slicer changes.
Consider Adhesive When You Actually Need It
Adhesive can help, but it should not replace proper bed preparation.
If the build plate is dirty or the Z-offset is wrong, glue may simply hide the real problem.
Once the first layer is properly calibrated, an adhesive can provide extra grip for large prints and difficult materials.
Some products also act as release layers. This can be useful when certain filaments stick too aggressively to PEI.
If you are unsure whether adhesive is appropriate for your setup, this guide to 3D printer glue and bed adhesion explains when glue helps and when another adjustment may work better.
Apply only a thin, even layer.
Adjust Your Model and Infill
Sometimes the model itself increases the risk of warping.
Large rectangular parts have long edges that can contract as they cool. Sharp corners also concentrate stress.
If the design allows it, rounded corners can help. Large parts may also print more reliably when split into smaller pieces and assembled afterward.
Infill matters as well.
Higher infill means more plastic inside the model, and more plastic means more material shrinking during cooling.
A fully solid print is not always necessary. For many functional parts, moderate infill combined with extra walls provides enough strength while reducing internal stress.
Material-Specific Warping Tips
PLA
PLA usually has relatively low shrinkage.
If it begins warping, check the bed surface, Z-offset, bed temperature, and nearby drafts first.
PLA generally benefits from good cooling after the first few layers.
PETG
PETG normally has strong bed adhesion and moderate shrinkage.
Avoid pressing it too aggressively into smooth PEI because it can bond very strongly to some surfaces.
ABS and ASA
ABS and ASA are much more sensitive to temperature changes.
A warm enclosure, limited cooling, and protection from drafts can greatly improve results.
Large prints are particularly difficult in cold, open environments.
Polycarbonate
Polycarbonate can create significant internal stress as it cools.
Use suitable bed and nozzle temperatures, strong first-layer adhesion, and a stable printing environment. Avoid using more infill than the part actually needs.
Best Tools for Preventing Warping
1. Magigoo Original 3D Printer Adhesive
This adhesive is designed for FDM printing and can improve first-layer grip while allowing easier removal after cooling.
2. Creality 3D Printer Enclosure
An enclosure helps reduce drafts and maintain a more stable printing environment, especially for ABS and ASA.
3. HICTOP Flexible PEI Build Plate
A PEI spring-steel plate can provide dependable adhesion and easier print removal after the surface cools.
4. Elmer’s Disappearing Purple Glue Sticks
PVA glue sticks remain a simple option for improving adhesion on suitable build surfaces.
5. Digital Infrared Thermometer
An infrared thermometer can help identify major temperature differences across the bed or surrounding area.
Conclusion
Warping is easier to solve once you look beyond a single setting and focus on how adhesion and temperature work together. A clean build plate, accurate Z-offset, stable bed temperature, controlled cooling, and the right setup for your filament can prevent most lifting issues. Brims, adhesives, and enclosures can help with stubborn prints, but they work best when the basics are already correct. Make one change at a time, watch how the print responds, and you will have a much clearer path to flatter, more reliable results.
FAQs
Why is my 3D print warping at the corners?
Corners lift because cooling plastic contracts and creates internal stress. Poor adhesion, drafts, low bed temperatures, and high-shrink materials can make the problem worse.
Does increasing bed temperature stop warping?
It can help by keeping the lower layers warmer and improving adhesion. Increase the temperature gradually and stay within the filament manufacturer’s recommended range.
Does a brim prevent 3D printing warping?
A brim can reduce warping by increasing the amount of material attached to the build plate. It is especially useful for large models and sharp corners.
Which filament warps the least?
PLA generally warps less than ABS, ASA, polycarbonate, and polypropylene. PETG is also relatively manageable with the right settings.
Should I use an enclosure to prevent warping?
An enclosure is useful for ABS, ASA, polycarbonate, and other materials that benefit from stable temperatures. PLA usually does not require one.
Add a faster troubleshooting checklistStrengthen the product section’s buying guidance