3D Printing Basics: How It Works and What You Need
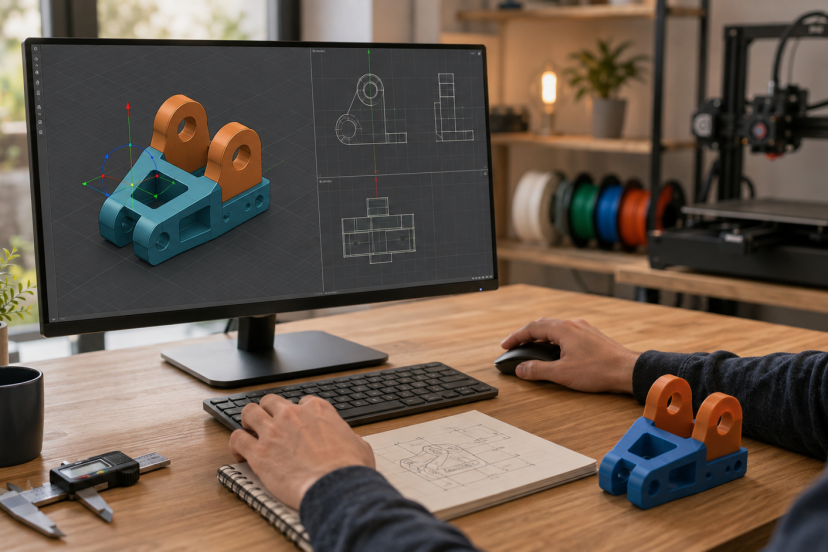
A 3D printer converts a digital model into a physical object by depositing material in consecutive thin layers. You can produce replacement parts, organizers, prototypes, toys and custom designs in the comfort of your home with a desktop machine. To get a handle on 3D printing basics, you need to understand how the process works, what equipment and materials you need, and which settings have an impact on the final print. This guide will help you every step of the way, from choosing a printer and filament to printing your first model.
What Is 3D Printing?
A 3D printer turns a computer-generated model into a physical object by adding material in thin, successive layers. Instead of cutting material like in traditional machining from a block, a 3D printer deposits material only where the design needs it.
And that is why technology is often referred to as additive manufacturing by professionals. The printer lays down or cures material in many thin layers. Those layers progressively build up a full three-dimensional object.
According to the National Institute of Standards and Technology’s additive manufacturing overview, the technology supports complex designs, rapid product development, customization, and economical low-volume production. At home, the same principle lets you create a single custom bracket without ordering hundreds of copies.
How Does 3D Printing Work?
Most home users begin with fused deposition modeling, commonly shortened to FDM or FFF. An FDM printer heats plastic filament and pushes it through a small nozzle.
The printing process follows five basic stages:
- You download or create a three-dimensional model.
- You export the model as an STL, 3MF, or similar file.
- Slicer software divides the model into printable layers.
- The slicer converts those layers into instructions called G-code.
- The printer follows the instructions and deposits melted plastic layer by layer.
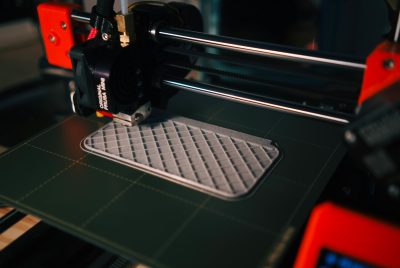
The print head moves across the build plate to create each horizontal layer. It then rises slightly and adds another. Depending on the object’s size and settings, a print can take anywhere from several minutes to several days.
The Main Types of 3D Printers
FDM printers
FDM printers melt spools of thermoplastic filament. They remain the most practical choice for beginners because they are affordable, widely supported, and relatively easy to maintain.
You can use them for household tools, organizers, toys, prototypes, cosplay parts, and mechanical components.
Resin printers
Resin printers use ultraviolet light to cure liquid photopolymer resin. They can reproduce tiny features and smooth surfaces, making them popular for miniatures, jewelry masters, and display models.
However, liquid resin requires gloves, careful handling, washing, and UV curing. Its added safety and cleanup requirements make FDM a more approachable starting point for most people.
Industrial systems
Professional machines may fuse metal or polymer powder with lasers. Others print with ceramics, concrete, or specialized composite materials. These systems demonstrate how broad the technology has become, but they sit well beyond the needs of a first-time home user.
3D Printing Basics: What You Need to Get Started
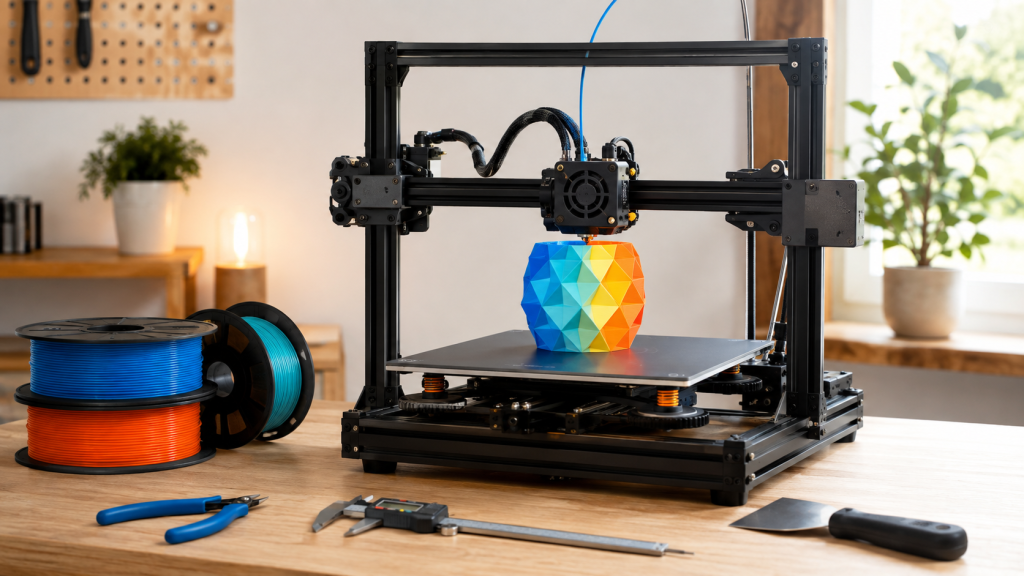
Your basic setup starts with an FDM printer, a spool of compatible filament, and a computer that can run slicing software. Some newer printers also work through mobile apps, although a computer gives you greater control.
You will also need:
- A digital 3D model
- Slicer software
- Flush cutters for trimming filament and supports
- A scraper or removable flexible build plate
- Digital calipers for measuring parts
- A small brush and nozzle-cleaning tools
- Airtight filament storage
- A stable, well-ventilated workspace
Many slicers are free. Popular choices include Cura, PrusaSlicer, OrcaSlicer, and Bambu Studio. Start with the profile supplied for your exact printer instead of adjusting every setting immediately.
For a closer look at useful measuring and maintenance equipment, see this guide to essential 3D print tools.
Choosing Your First Filament
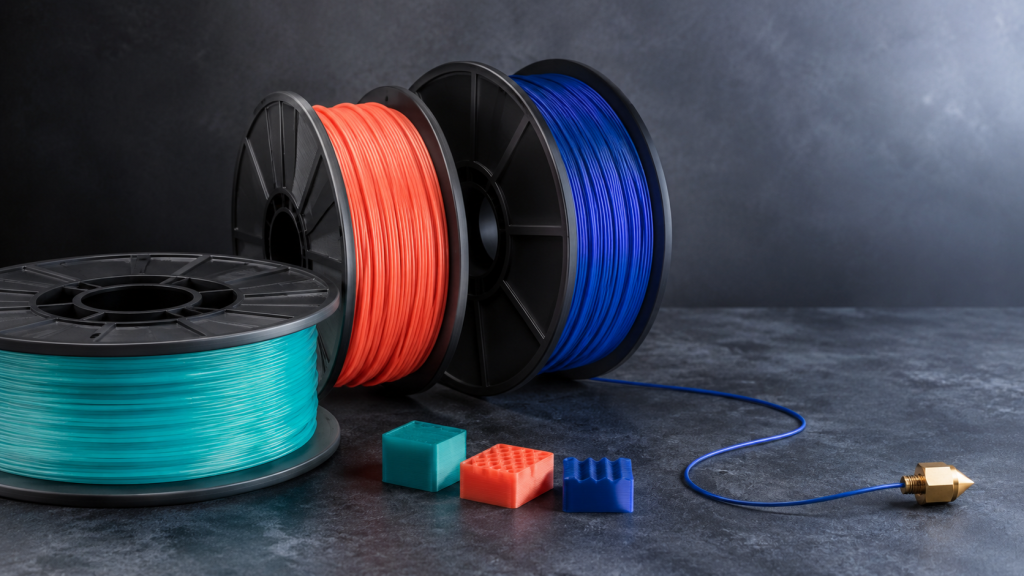
Choosing PLA is one of the first 3D printing basics to understand because the material is affordable, widely compatible, and easy to print. PLA is usually the easiest filament for beginners. It prints at moderate temperatures, resists warping, and works on most FDM printers. It is well suited to decorations, models, prototypes, and lightly used household objects.
PETG offers better toughness, temperature resistance, and moisture resistance. However, it can create more stringing and may require additional tuning.
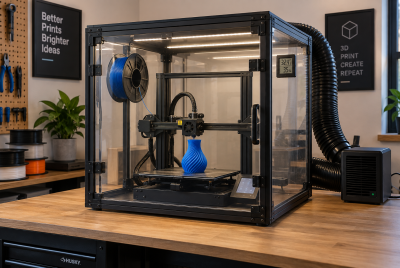
ABS produces durable parts but needs higher temperatures, strong ventilation, and preferably an enclosed printer. TPU creates flexible objects but can be difficult to feed through some extruders.
Your printer manufacturer’s recommendations should always come first. You can also compare the strengths and limitations of common materials in this 3D printing filament guide.
How to Complete Your First Print
Begin with a small, proven model rather than designing a complicated object from scratch. Calibration cubes, keychains, cable clips, and simple phone stands make manageable first projects.
Download the model, open it in your slicer, and select the profile for your printer and material. Position the model with its largest flat surface against the virtual build plate.
For a standard PLA print, choose a medium layer height such as 0.20 mm and use the slicer’s default temperatures. Add supports only when parts of the model extend into open air at steep angles.
Next, slice the file and preview every layer. The preview can reveal missing sections, excessive supports, or an unexpectedly long printing time. Transfer the G-code to your machine, clean the build plate, load the filament, and start the print.
Watch the first layer closely. It should form smooth, connected lines that grip the plate without looking crushed. A poor first layer often leads to a failed print later.
Settings That Affect Print Quality
Layer height
A smaller layer height can capture finer details, but it increases printing time. A larger height prints faster and leaves more visible layer lines. A 0.20 mm setting offers a sensible balance for a standard 0.4 mm nozzle.
Temperature
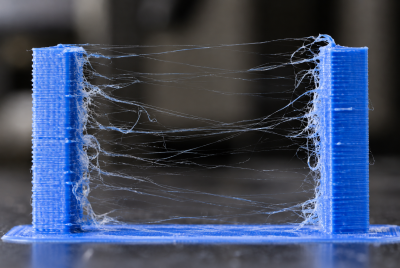
If the nozzle runs too cool, adjacent lines may not bond correctly. Excessive heat can cause stringing, drooping, or rough surfaces. Use the filament maker’s recommended range and adjust in small steps.
Print speed
High speed saves time only when the machine can control its movement and filament flow. If a model looks rough, try slowing the outer walls before changing several unrelated settings.
Infill
Infill creates an internal framework inside the object. Decorative models often need only 10% to 15%. Functional parts may need more, although additional walls can sometimes improve strength more efficiently than extremely dense infill.
Supports and orientation
Orientation affects surface quality, strength, support use, and printing time. Layer lines can split under force, so position functional parts with their expected load direction in mind.
Common Beginner Problems
Poor bed adhesion causes corners to lift or an entire print to move. Clean the plate, confirm the correct bed temperature, and check the nozzle height before applying more adhesive.
Stringing leaves fine plastic hairs between separate areas. Dry the filament, verify the printing temperature, and tune retraction settings.
Layer shifting creates a model whose upper section moves sideways. Check belt tension and ensure nothing blocks the print head.
Under-extrusion produces gaps or weak layers. A partial nozzle clog, tangled spool, low temperature, or incorrect filament diameter may restrict material flow.
Change one setting at a time. Otherwise, you will not know which adjustment solved—or worsened—the problem.
3D Printing Safety Basics
A 3D printer contains hot surfaces and moving components. Keep hands away from the nozzle and heated bed during operation, and never let children use the machine without close supervision.
Place the printer on a solid, nonflammable surface. Inspect cables and connectors regularly, keep the surrounding area clear, and avoid running an unfamiliar machine unattended.
Ventilation also matters. A NIOSH investigation of 3D printer emissions recommends controls such as local exhaust ventilation and ventilated enclosures to reduce airborne contaminants. Place your printer away from bedrooms and poorly ventilated living spaces, even when using PLA.
Resin requires additional precautions, including suitable chemical-resistant gloves, eye protection, ventilation, and proper waste handling.
Conclusion
Learning the 3D printing basics starts with understanding how a printer builds objects layer by layer and what each part of the workflow controls. For an easier start, choose a beginner-friendly FDM printer, use PLA filament, select the correct slicer profile, and check the first layer before leaving a print to run.
Begin with small projects and adjust one setting at a time when problems occur. With regular practice and basic maintenance, you can progress from printing ready-made models to creating useful custom parts of your own.
FAQs
Is 3D printing difficult to learn?
Basic printing is approachable when you use a supported printer profile and begin with PLA. Designing original models and diagnosing complex failures take longer, but you can learn those skills gradually.
Can beginners print without creating their own models?
No. You can download ready-to-print models from reputable model libraries. Later, beginner-friendly design programs such as Tinkercad can help you create or modify simple parts.
How much time should you allow for a print?
A small keychain might take less than an hour, while a detailed helmet may take several days. Model size, layer height, speed, infill, and support structures all affect the estimate.
Can I use any filament in my printer?
No. Check the required filament diameter, nozzle temperature, bed temperature, extruder design, and enclosure requirements. Some abrasive materials also need a hardened nozzle.
Why do my prints keep coming off the build plate?
The plate may be dirty, the nozzle may sit too far from the surface, or the bed temperature may be incorrect. Clean the surface and inspect the first layer before adding glue or changing several slicer settings.