TPU 3D Printing: A Complete Beginner’s Guide
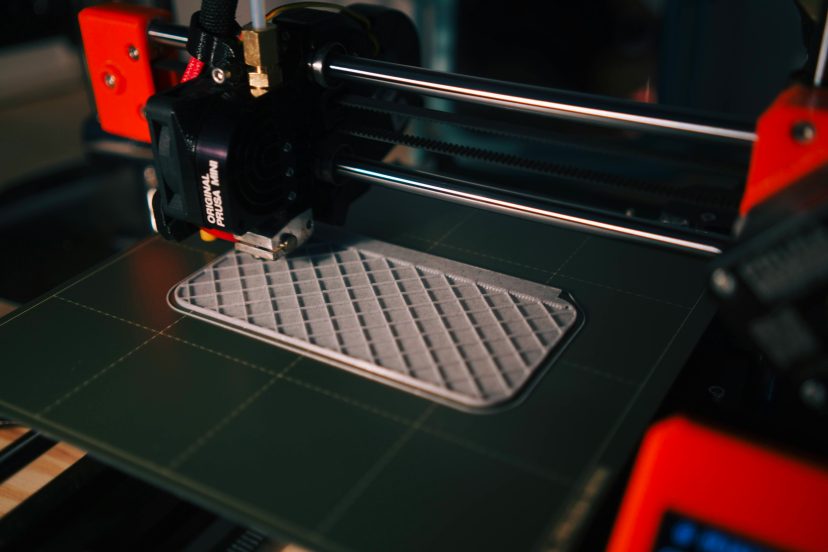
TPU 3D printing can seem intimidating when you first handle a spool. The filament bends in your hand, stretches under pressure, and behaves nothing like the rigid PLA most beginners know. Feed it too quickly, and it may buckle inside the extruder. Use the right setup, however, and it can produce remarkably durable parts.
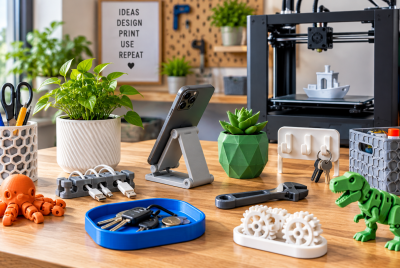
Thermoplastic polyurethane, or TPU, works well for phone cases, flexible feet, seals, protective covers, wheels, straps, and vibration-damping components. It combines rubber-like movement with the convenience of ordinary filament printing.
You do not need an expensive industrial printer to use it. A suitable extruder, dry filament, slow print speed, and a few thoughtful slicer adjustments can make TPU surprisingly manageable.
What Is TPU Filament?
TPU is a flexible thermoplastic that softens when heated and solidifies as it cools. Unlike rubber, manufacturers can melt and reshape it repeatedly. That property makes TPU suitable for fused filament fabrication, where a printer deposits molten material one layer at a time.
Its flexibility varies by formulation. Some TPU filaments feel firm and resist deformation, while others stretch and compress easily. TPU also offers good resistance to abrasion, impact, oils, and everyday wear.
A broad review of polymer materials used in fused filament fabrication explains that material choice and printing conditions both influence the final performance of printed parts. In other words, buying flexible filament is only the beginning. Your design, layer direction, temperature, and infill also matter.
Why Use TPU for 3D Printing?
TPU fills the gap between hard plastic and traditional rubber. A properly designed TPU part can bend repeatedly without snapping, absorb an impact, and return close to its original shape.
Common projects include:
- Phone and electronics cases
- RC car tires
- Drone bumpers
- Flexible hinges
- Gaskets and seals
- Tool grips
- Cable organizers
- Non-slip feet
- Wearable accessories
- Vibration isolators
TPU also produces parts that feel more finished than hard plastic in applications involving skin contact or grip. However, it is not automatically suitable for medical, food-contact, or safety-critical uses. Those applications require certified materials and controlled production conditions.
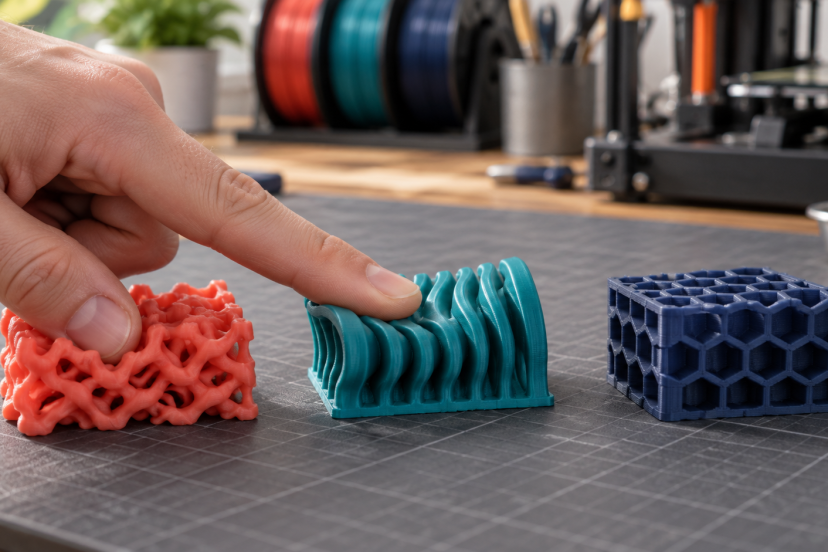
Understanding Shore Hardness
Shore hardness describes how strongly a flexible material resists indentation. Most printable TPU uses the Shore A scale.
A 98A filament feels relatively firm and usually feeds more easily. A common 95A TPU bends readily but still has enough stiffness for many desktop extruders. Softer products around 85A feel more rubber-like, although they are harder to control.
For your first spool, 95A offers the most practical balance. It works for flexible cases, feet, bumpers, and general prototypes without demanding highly specialized equipment.
Keep in mind that Shore hardness does not determine the entire feel of a printed object. Wall thickness, infill pattern, infill percentage, and model shape can make the same filament feel either soft or surprisingly rigid.
Is Your 3D Printer Ready for TPU?
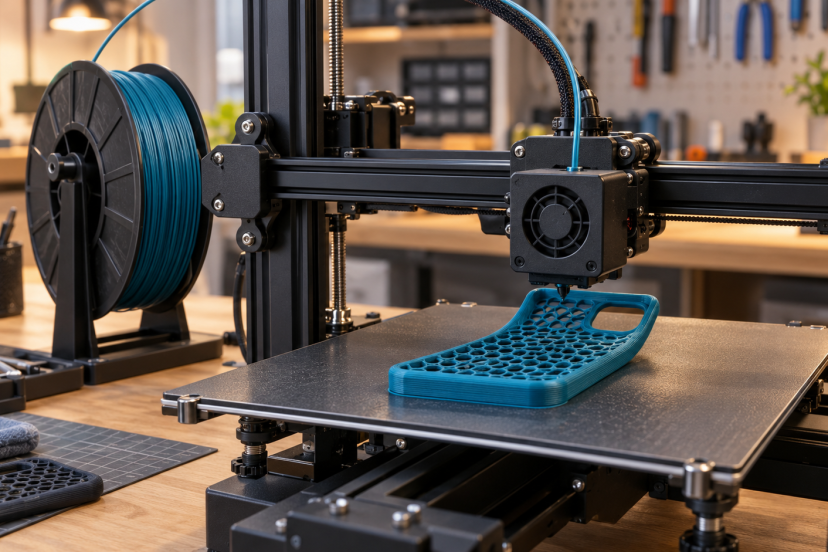
A direct-drive extruder offers the easiest path into TPU 3D printing. Because the drive gears sit close to the hot end, the filament travels through a short, constrained path. That leaves less room for it to bend or bunch up.
A Bowden printer can still print moderately firm TPU, particularly 95A varieties. You may need to print more slowly and minimize friction throughout the tube. Loose fittings, a long filament path, or gaps around the drive gears can create feeding problems.
Before printing, check that:
- The extruder gears are clean
- The nozzle has no partial blockage
- The filament path has minimal gaps
- The spool rotates freely
- The nozzle and bed are properly leveled
- The printer accepts the filament’s required temperature
If you are choosing your first machine, this guide to finding a good beginner 3D printer covers the features that make early projects easier.
Best Starting Settings for TPU
Always check the manufacturer’s label first. TPU formulations differ, so no universal profile works for every spool. Still, these values provide a sensible starting point for common 95A TPU:
| Setting | Beginner Starting Point |
| Nozzle temperature | 220–235°C |
| Bed temperature | 40–60°C |
| Print speed | 20–30 mm/s |
| First-layer speed | 15–20 mm/s |
| Layer height | 0.20 mm |
| Fan speed | 30–60% |
| Retraction distance | 0.5–2 mm direct drive |
| Retraction speed | 15–25 mm/s |
| Flow | 100% |
Print a small temperature tower or calibration cube before committing to a large model. Change one setting at a time, record the result, and save a dedicated TPU slicer profile once the extrusion looks consistent.
Slower printing gives the extruder better control over the flexible strand. It also reduces sudden pressure changes inside the hot end.
How to Prepare and Load TPU
Start with a cleanly cut filament end. Release the extruder tension and guide the TPU through the filament path gently. If it meets resistance, stop and find the obstruction rather than pushing harder.
Extruder tension deserves attention. Too little pressure lets the gear slip. Too much pressure crushes the filament and encourages it to curl around the gear. Tighten only enough to maintain steady feeding.
Keep the filament path smooth and direct so the TPU does not kink before reaching the extruder. The spool should unwind smoothly without forcing the extruder motor to pull against unnecessary resistance.
TPU absorbs moisture from humid air. Wet filament may pop during extrusion and produce bubbles, stringing, rough walls, or weak layers. If those problems appear across several settings, dry the spool according to its manufacturer’s instructions. A suitable filament dryer can also let you feed moisture-sensitive TPU directly into the printer.
Getting the First Layer Right
TPU usually adheres well, sometimes too well. Clean the build surface and use a normal first-layer height rather than pushing the nozzle extremely close to the bed.
On glass or very adhesive surfaces, apply a thin layer of glue stick as a release barrier. Without one, removing the model may damage the build surface or stretch the part.
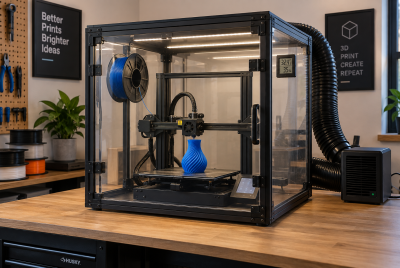
A brim helps small objects and models with narrow contact areas. An enclosure is rarely necessary for ordinary TPU, and excessive chamber heat may soften the filament before it reaches the extruder.
Wait until the build surface has cooled, then remove the finished part carefully. Then lift the part gradually instead of pulling one flexible corner with force.
How to Prevent Stringing and Other Problems
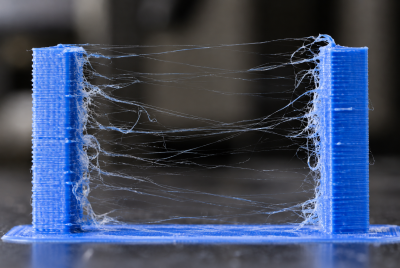
Stringing is common because melted TPU tends to ooze while the nozzle travels. Begin by drying the filament and confirming the correct nozzle temperature. Then adjust retraction in small increments.
Too much retraction can be worse than too little. Rapidly pulling soft filament backward may make it buckle or jam. Increase travel speed where your printer can do so safely, and enable settings that reduce unnecessary moves across open spaces.
Other common problems include:
Filament Buckling
Reduce print speed, lower retraction speed, ease excessive extruder tension, and inspect the filament path for unsupported gaps.
Under-Extrusion
Check for a partial nozzle clog, slipping drive gears, spool resistance, or printing speeds beyond the extruder’s ability to feed TPU.
Rough or Bubbled Walls
Dry the filament. Moisture often causes popping noises and irregular extrusion that temperature changes alone cannot solve.
Poor Layer Bonding
Raise the nozzle temperature slightly or reduce fan speed. Test small changes because excessive heat can soften details and worsen stringing.
Designing Better TPU Parts
Flexibility comes from geometry as much as material. Thin walls bend easily, while thick walls create firm parts even with soft filament. Low infill allows compression, whereas high infill increases support and resistance.
Gyroid infill works well when you want movement in several directions. Concentric patterns can suit seals and round parts. For many flexible objects, two or three perimeter walls with moderate infill provide a useful starting point.
Also consider the direction of force. Layered prints do not behave identically in every direction. Research into desktop printing of TPU parts found that printing conditions and deposited structure influence mechanical behavior. Orient important features so normal use does not continually pull weak interfaces apart.
Top Products for TPU 3D Printing
1. OVERTURE TPU 95A
OVERTURE TPU 95A is a sensible first spool for general flexible projects. Its 95A hardness makes it easier to feed than very soft TPU while retaining enough movement for cases, bumpers, and protective parts.
2. SainSmart Flexible TPU 95A
SainSmart Flexible TPU suits makers who want a widely used 95A option for direct-drive or carefully tuned Bowden machines. It is available in several colors for practical and decorative models.
3. Polymaker PolyFlex TPU95
Polymaker PolyFlex TPU95 is aimed at users who value consistent dimensional control and predictable printing. It works well for functional prototypes, wearable parts, and objects requiring repeated flexing.
4. eSUN eTPU-95A
eSUN eTPU-95A provides another approachable choice for everyday flexible printing. Its firmness makes it appropriate for beginners who are still learning to balance temperature, speed, and retraction.
5. NinjaTek NinjaFlex
NinjaTek NinjaFlex produces softer, more elastic parts than typical 95A filament. It is better suited to an experienced user with a well-constrained direct-drive extruder. Beginners should master firmer TPU before trying it.
TPU Safety and Storage
Print in a ventilated room and follow the filament manufacturer’s safety data. Avoid treating an enclosed bedroom or poorly ventilated office as a permanent printing area.
After use, return the spool to a sealed bag or dry box with fresh desiccant. Storage prevents moisture absorption; it does not reliably remove moisture already trapped inside the filament.
Keep TPU away from heaters and direct sunlight. Loose winding can also cause tangles, so secure the filament end whenever you remove the spool.
Conclusion
TPU 3D printing becomes much easier when you begin with 95A filament, use a short and constrained feed path, slow the printer down, and keep the spool dry. A direct-drive extruder helps, but many Bowden machines can handle firmer TPU with careful tuning. Start with a small model and change one setting at a time. Once the filament feeds consistently, you can explore softer materials, more complex designs, and genuinely useful parts that rigid plastics cannot produce.
FAQs
Is TPU difficult for beginners to print?
TPU 3D printing takes more adjustment than PLA, but 95A filament is manageable on many desktop printers. Slow printing, dry material, and a controlled filament path solve most early problems.
Will TPU work with a Bowden-style printer?
Yes. Use firmer TPU, reduce print and retraction speeds, and minimize resistance in the Bowden tube. Very soft filament works more reliably with direct drive.
Does TPU need a heated bed?
Not always, although a bed temperature around 40–60°C often improves first-layer consistency. Follow the filament manufacturer’s recommended range.
How fast should I print TPU?
Begin around 20–30 mm/s. Once extrusion remains stable, increase speed gradually while watching for under-extrusion, buckling, and reduced surface quality.
Why is my TPU print stringy?
Moist filament, excessive nozzle temperature, slow travel moves, or poor retraction settings may cause stringing. Dry the spool first, then tune temperature and retraction in small steps.