SLS 3D Printing Basics: From Powder to Finished Parts
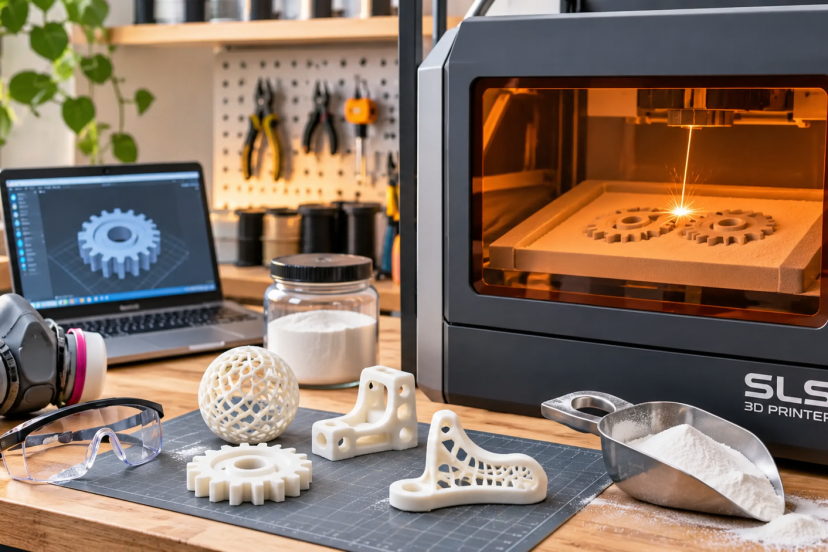
Imagine creating a complex mechanical part with moving components, intricate details, and no support structures to remove afterward. That’s what makes SLS 3D printing so interesting. Instead of melting plastic filament or curing liquid resin, this technology uses a laser to fuse fine polymer powder into solid, functional parts. It’s widely used for prototypes, custom components, and small production runs where strength and design flexibility matter. But how does a bed of loose powder become a finished product? This guide walks you through the entire process, from preparing a digital model and choosing materials to understanding the benefits, limitations, and finishing techniques.
What Is SLS 3D Printing?
Selective laser sintering builds three-dimensional objects by using a laser to bond fine polymer powder, one layer at a time.
Instead of depositing melted filament, an SLS printer spreads thin layers of powder across a heated build platform. The laser traces each layer’s shape, bonding particles together to form the object.
One interesting feature is that surrounding powder naturally supports the printed part. This allows designers to create complicated shapes without adding separate support structures.
According to the University of Zurich’s overview of selective laser sintering, the process is particularly suitable for functional prototypes and low-volume production.
How Does SLS 3D Printing Work?
The process involves several stages, from preparing a digital model to removing excess powder.
Step 1: Prepare the 3D Model
Everything begins with a digital design created using CAD software.
The model goes into specialized preparation software, which slices it into thin layers and arranges parts within the printer’s build volume.
Because loose powder supports the objects, multiple components can occupy different positions and heights within one build.
Step 2: Spread and Heat the Powder
The printer distributes a thin layer of polymer powder across the build platform.
A heating system brings the powder close to its processing temperature. This reduces the amount of additional energy the laser needs to fuse the material.
Uniform powder distribution and accurate temperature control help produce consistent results.
Step 3: Fuse the Powder With a Laser
A laser scans the selected areas of the powder bed, heating particles until they fuse.
Once the first layer forms, the platform lowers slightly, and the machine spreads another layer of powder.
The printer repeats this sequence until it completes every section of the model.
Step 4: Cool and Remove the Parts
After printing, the entire build must cool gradually.
Removing parts while they’re too hot can cause deformation or warping. Cooling time depends on the equipment, material, and build size.
Once sufficiently cool, the operator carefully extracts the parts from the surrounding loose powder.
Step 5: Clean and Finish the Prints
Freshly extracted SLS parts often have a slightly grainy surface.
Operators remove residual powder using suitable depowdering equipment, followed by media blasting when required. Additional finishing options include dyeing, polishing, and applying protective coatings.
The result is a functional component ready for inspection or further assembly.
Materials Used in SLS Printing
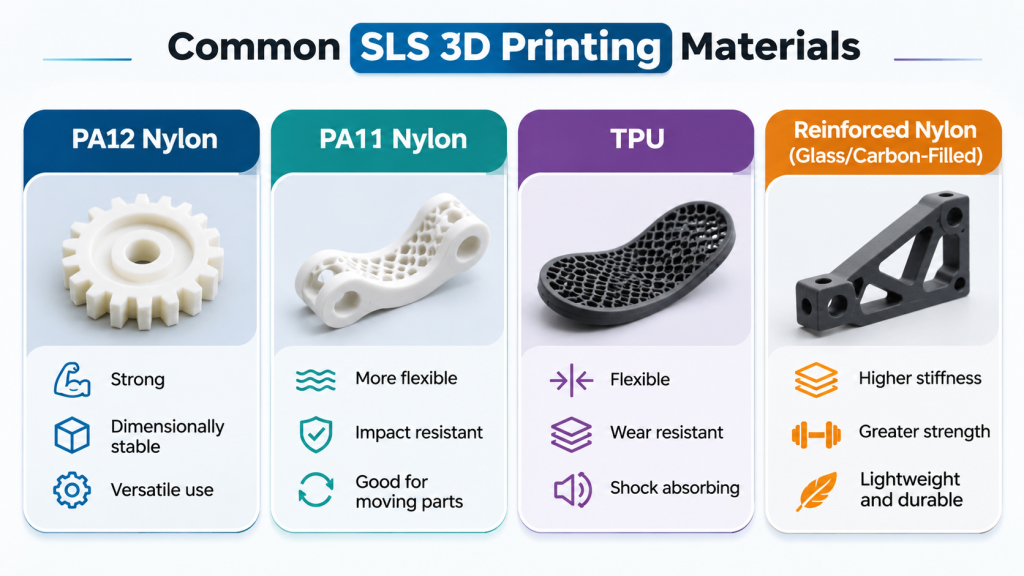
SLS printers commonly use powdered polymers, particularly nylon-based materials.
PA12 Nylon
Polyamide 12, or PA12, is a popular choice because it offers a useful balance of strength, stiffness, and dimensional stability.
It’s suitable for brackets, housings, enclosures, and mechanical components.
PA11 Nylon
PA11 generally offers greater ductility and impact resistance than standard PA12 formulations.
Manufacturers often select it for flexible clips, snap-fit connections, and parts exposed to repeated movement.
TPU and Reinforced Nylon
Thermoplastic polyurethane (TPU) works well for flexible components such as protective covers and cushioning structures.
Glass-filled and carbon-filled nylon formulations can increase stiffness, although their properties and processing requirements vary.
Always select powder that your particular printer supports.
Advantages of SLS 3D Printing
SLS offers several capabilities that make it attractive for functional manufacturing.
- No dedicated support structures: Loose powder supports overhangs and internal features.
- Complex design freedom: Designers can create intricate geometries, lattice structures, and interlocking components.
- Durable materials: Nylon parts can withstand practical handling and mechanical loads.
- Efficient batch production: Multiple components can share the same build chamber.
- Reduced support waste: The process doesn’t require disposable printed scaffolding.
The OpenStax explanation of powder bed manufacturing describes the equipment and material systems that make these capabilities possible.
Limitations of SLS Printing
Despite its advantages, SLS isn’t the easiest technology for every hobbyist.
Printers and their supporting equipment typically cost considerably more than entry-level filament machines. Powder recovery, cleaning, and finishing also require dedicated workspace arrangements.
Other limitations include:
- Grainier surfaces than many resin prints.
- Cooling periods that extend production time.
- Material shrinkage and thermal distortion.
- Powder trapped inside poorly designed cavities.
Powder safety deserves particular attention. Fine polymer powders can present inhalation and combustible-dust hazards, so operators need appropriate ventilation, protective equipment, and manufacturer-approved cleaning methods.
SLS vs. FDM vs. SLA 3D Printing
These three technologies produce solid objects differently.
| Feature | SLS | FDM | SLA |
| Material | Polymer powder | Plastic filament | Liquid photopolymer resin |
| Process | Laser powder fusion | Heated nozzle extrusion | Light-based resin curing |
| Supports | Usually unnecessary | Often necessary | Often necessary |
| Surface finish | Slightly grainy | Visible layer lines | Usually smooth |
| Typical strength | Good for functional nylon parts | Depends on material and orientation | Depends on resin |
| Equipment cost | Generally high | Usually lowest | Low to high |
FDM remains practical for everyday hobby projects, while SLA works particularly well for models requiring fine surface detail.
For a closer look at why filament printing needs additional scaffolding, explore these 3D printing support settings and techniques.
SLS becomes especially valuable when complex geometry and functional nylon materials matter more than equipment simplicity.
Common Applications of SLS 3D Printing
SLS technology is useful for projects that require detailed geometry and dependable mechanical properties.
Functional prototypes: Engineers create brackets, hinges, and housings to test fit and performance before manufacturing.
Custom products: Designers produce tailored accessories, replacement components, and specialty equipment.
Small production batches: Businesses manufacture limited quantities without investing in expensive injection molds.
Complex assemblies: Interlocking mechanisms and lightweight lattice structures can sometimes be printed together, reducing assembly work.
These applications make SLS particularly attractive when ordinary printing methods would require extensive supports or complicated assembly.
Practical Tips for Better SLS Prints
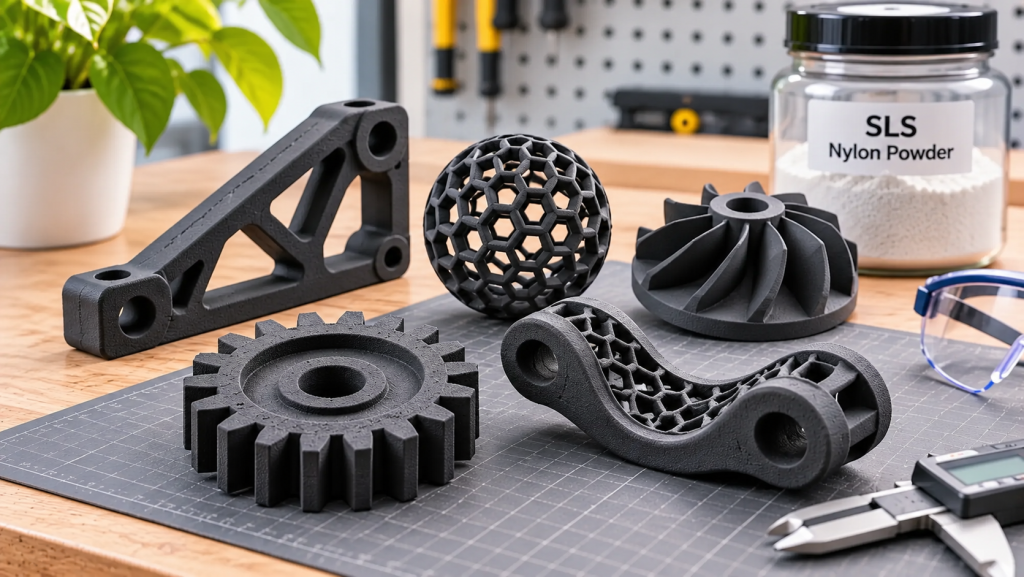
A successful SLS project begins with thoughtful design and careful material handling.
- Check minimum wall thickness: Thin walls can warp or break. Follow the design guidelines for your printer and powder.
- Allow moving-part clearance: Hinges and interlocking components need enough separation to prevent unintended fusion.
- Include powder escape holes: Hollow structures must allow loose powder to leave internal cavities.
- Respect cooling requirements: Premature extraction can affect dimensional accuracy.
- Plan your finishing method: Consider surface texture, color, and intended use before choosing a material.
Formlabs explains how incorrect temperatures and insufficient cooling can affect parts in its SLS print failure troubleshooting guide.
Recommended Products for SLS 3D Printing
These accessories can help with measuring, finishing, and handling SLS components. They aren’t replacements for professional powder-handling equipment.
1. Digital Caliper
Best for: Checking dimensional accuracy.
This digital caliper measures internal and external dimensions with a 0.01 mm display resolution. It’s useful for inspecting holes, wall thicknesses, and component fit after printing.
2. Deburring Tool
Best for: Cleaning accessible edges.
The product includes a handle and replaceable high-speed steel blades. It helps remove unwanted burrs from suitable plastic edges, although operators should avoid delicate features.
3. Rit DyeMore Synthetic Dye – Graphite
Best for: Coloring compatible nylon prints.
Rit DyeMore is formulated for synthetic materials, including nylon. It can add color to properly cleaned parts, but results vary by polymer formulation. Its hot-water process also requires checking the printed material’s temperature tolerance.
4. X-ACTO No. 1 Precision Knife
Best for: Small finishing adjustments.
This lightweight craft knife includes a fine-point blade suitable for careful trimming of accessible plastic features. It’s particularly useful for removing small imperfections without using bulky tools.
5. 3M 2091 P100 Particulate Filters
Best for: Respiratory protection when appropriately specified.
These particulate filters attach to compatible 3M respirators. They may form part of a powder-handling safety setup when selected through the appropriate hazard assessment.
Conclusion
SLS printing offers a different approach to creating functional parts, especially when a design involves complex shapes, internal features, or components that would be difficult to produce with traditional support structures. While the technology requires specialized equipment, careful powder handling, and proper finishing, its ability to produce durable nylon components makes it valuable for prototyping and small-scale manufacturing. For hobbyists interested in exploring SLS, starting with a professional printing service is a practical way to test designs and understand the results without investing in expensive machinery. As you become more familiar with the process, you’ll have a clearer idea of when SLS is worth choosing over FDM or resin printing.
FAQs
Is SLS 3D printing stronger than FDM?
SLS nylon parts often have more consistent mechanical properties across different print directions than typical FDM parts. However, actual strength depends on the material, design, and printing conditions. Some engineering-grade FDM materials can outperform certain SLS materials.
Can beginners use SLS 3D printers?
Yes, but SLS requires more specialized equipment, training, and safety precautions than basic filament printing. Beginners can explore the technology through professional printing services before purchasing equipment.
Does SLS printing require supports?
SLS generally doesn’t require separate printed support structures. During printing, loose powder provides natural support for overhanging features and intricate shapes. However, designers must still consider clearances, heat distribution, and powder removal.
Can SLS parts be painted or dyed?
Yes. Many nylon SLS components accept suitable dyes, paints, and surface treatments. Proper cleaning and material compatibility are important for achieving a consistent finish.
Is SLS printing expensive?
SLS equipment generally costs more than consumer FDM and SLA printers. Additional expenses include powder, maintenance, finishing equipment, and safety systems. Outsourcing small projects is often more practical for occasional users.