3D Printer Calibration For Best Print Quality
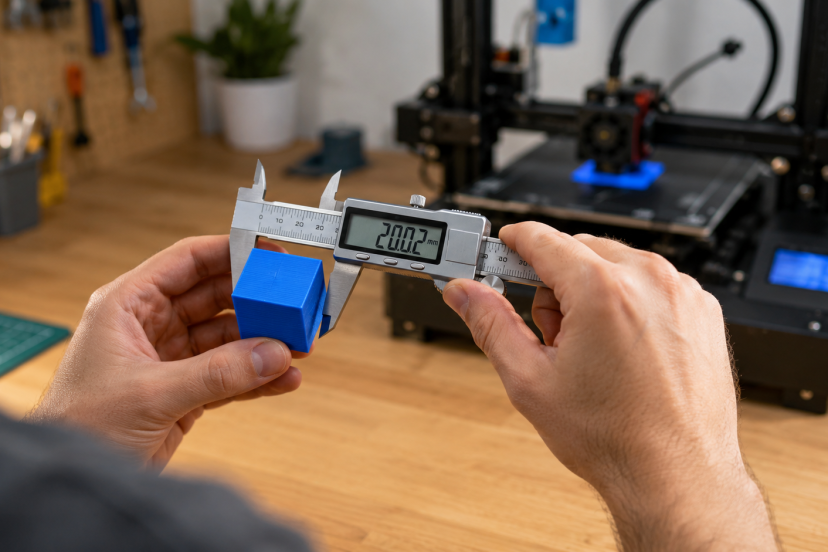
A new 3D printer can produce disappointing results even when every component works correctly. You may see gaps between lines, rough walls, excessive stringing, poor bed adhesion, or parts that do not fit together. In many cases, the machine does not need replacement parts. It needs careful 3D printer calibration.
Calibration aligns the printer’s mechanical movement, material flow, temperatures, and slicer settings. The goal is not to chase a perfect-looking calibration cube. It is to create a dependable profile that produces accurate, clean parts with the filament you use.
The process becomes much easier when you follow a logical order and change only one variable at a time. This guide focuses on FDM and FFF printers that deposit thermoplastic filament through a heated nozzle.
Why 3D Printer Calibration Matters
A printer follows numerical instructions, but real hardware introduces small variations. Belts stretch, build plates sit slightly unevenly, filament diameter changes, and hotends do not always match their displayed temperature exactly.
Calibration accounts for those differences. A well-tuned printer should provide:
- A smooth and dependable first layer
- Consistent wall thickness
- Clean corners and surfaces
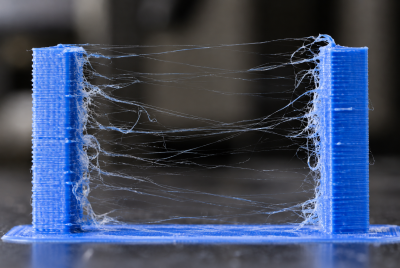
- Controlled stringing
- Accurate external dimensions
- Reliable layer bonding
- Repeatable results across multiple prints
Research involving 38 test samples from four commercial printers found that layer height, nozzle speed, infill, and machine-specific settings all affected surface quality and dimensional results. This supports a central calibration principle: print quality depends on several connected variables, not one universal setting. See the full 3D-printer characterization study for its methods and findings.
Prepare the Printer Before Changing Settings
Software cannot compensate for loose or damaged hardware. Begin with the machine powered off and cool.
Check that the frame sits firmly on a stable surface. Gently inspect the printhead, bed, and gantry for unwanted movement. Wheels should roll smoothly without wobbling, while linear rails should remain clean and properly lubricated according to the manufacturer’s instructions.
Inspect the belts as well. A loose belt can produce ringing, shifted layers, and inaccurate dimensions. An overtightened belt can strain bearings and motor shafts. Use the printer manufacturer’s recommended tensioning method rather than tuning by sound alone.
Next, confirm that the nozzle is clean, correctly installed, and free from obvious wear. Abrasive filaments can enlarge a brass nozzle over time, changing the true extrusion width.
Finally, clean the build plate using a method approved for its surface. Finger oils can cause adhesion problems even when the bed is perfectly level.
Level the Bed and Set the Z-Offset
The first layer creates the foundation for everything above it. Start the calibration process by leveling or tramming the build plate.
Tram the Build Plate
Manual leveling adjusts the relationship between the nozzle and the bed. Home the printer, disable the stepper motors if the manufacturer permits it, and move the nozzle to several points across the plate.
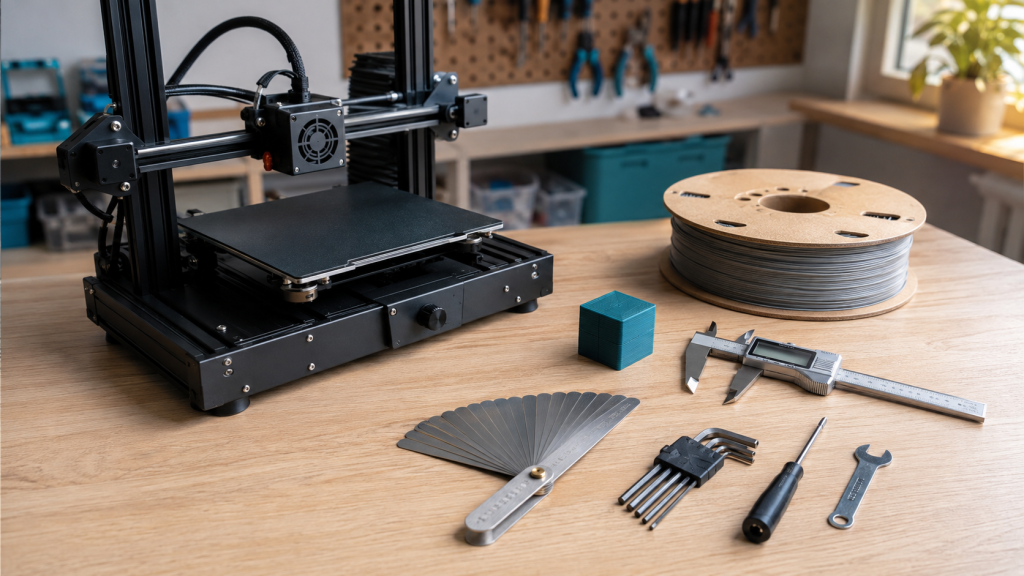
Use a sheet of ordinary paper or a suitable feeler gauge to check the gap. Aim for similar resistance at every point. Repeat the process because adjusting one corner can change another.
Automatic bed leveling helps compensate for minor variations, but it does not always correct a badly tilted or loose bed. Tram the plate mechanically before relying on the mesh.
Adjust the Z-Offset
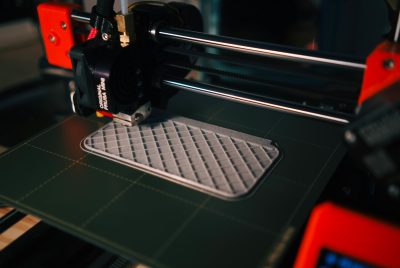
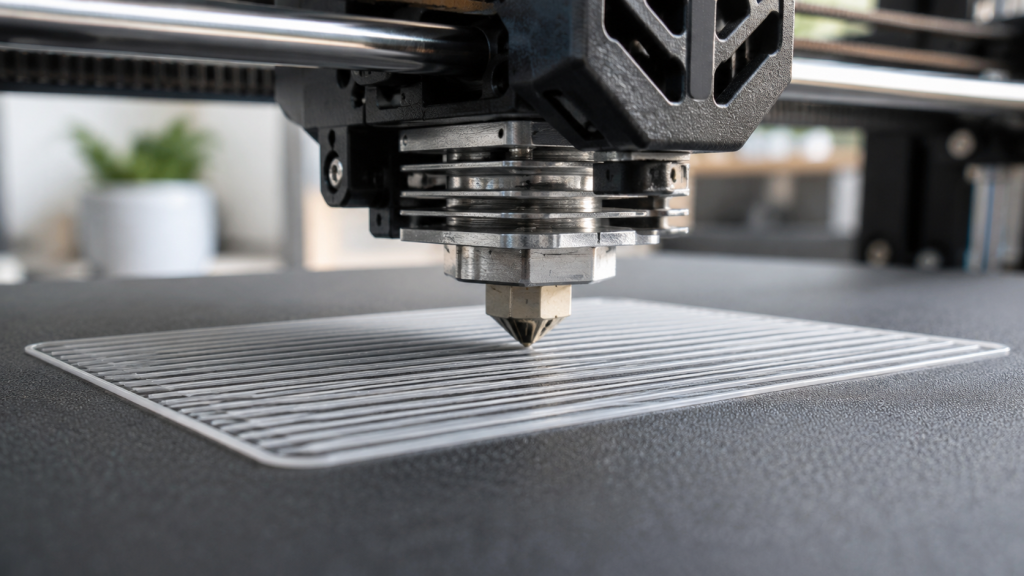
Print a large single-layer square or several patches spread across the bed. Watch how the lines meet:
- Rounded lines with gaps mean the nozzle is too high.
- Thin, rough, or nearly transparent lines mean it is too low.
- Joined lines with a smooth, solid surface indicate a good offset.
Prusa’s detailed first-layer calibration instructions explain that the ideal line should stick firmly while remaining slightly compressed. The guide also warns that an excessively low nozzle can restrict flow or damage the build surface.
If adhesion still fails after the first layer looks correct, consult our guide to troubleshooting common 3D printer problems. It covers dirty plates, clogs, filament moisture, layer shifts, and other defects that can resemble calibration errors.
Calibrate Extruder Movement and Flow
Extrusion calibration has two related parts. The first checks how much filament the extruder moves. The second controls how much plastic the slicer deposits.
Check Extruder Movement
Heat the hotend to a safe temperature for the loaded material. Mark a measured length of filament above a fixed reference point, command a controlled extrusion, and measure what remains.
If the commanded and actual distances differ, follow your printer manufacturer’s procedure for correcting the extruder rotation distance or steps-per-millimeter value. Some modern printers arrive with a reliable factory value, so change it only when a repeatable measurement confirms an error.
Never extrude cold filament through a heated-material system. Cold extrusion can damage the drive mechanism.
Tune the Flow Ratio
After checking extruder movement, print the flow-calibration model recommended by your slicer or printer maker. Inspect the top surface and walls.
Visible gaps can indicate insufficient flow. Raised ridges, nozzle scraping, and material buildup can point to excessive flow. Adjust in small increments—usually one or two percent—then print the test again.
Prusa’s extrusion multiplier calibration guide recommends treating flow as a filament-specific value because the ideal setting can vary between materials, colors, brands, and even spools.
Avoid using flow to hide mechanical problems, an incorrect nozzle diameter, or a partial clog.
Find the Best Printing Temperature
Manufacturer temperature ranges provide a starting point, not a final answer. Print a temperature tower designed for your slicer, changing the nozzle temperature at the correct heights.
Examine each section for:
- Overhang quality
- Bridging
- Stringing
- Surface finish
- Sharp corners
- Layer bonding
Choose the lowest temperature that still produces dependable bonding and good detail. Printing too cool can create weak layers and incomplete extrusion. Excessive heat may increase oozing, soften fine details, and make overhangs untidy.
Create a separate temperature profile for each filament type and brand. Do not assume that every PLA or PETG spool behaves identically.
Tune Retraction and Movement
Once temperature and flow are stable, print a short retraction test with several separate towers.
Fine-tune one retraction setting per test so you can identify what reduces stringing. Start with retraction distance, then tune retraction speed if necessary. Direct-drive printers usually require less retraction than Bowden systems, so copying another printer’s values may cause clogs or inconsistent extrusion.
If fine strings remain, confirm that the filament is dry before increasing retraction further. Wet material can bubble and ooze in ways that slicer adjustments cannot fully correct.
Ringing or ghosting requires a different approach. Check belt tension and frame stability before lowering acceleration or outer-wall speed. If your firmware supports input shaping, follow its machine-specific calibration routine.
Pressure advance or linear advance can sharpen corners and stabilize line width during speed changes. However, perform this advanced calibration only after flow, temperature, and mechanical movement are reliable.
Check Dimensional Accuracy
Print a dimensional test with clearly labeled external walls, holes, and heights. Let the part cool before measuring it with a dependable digital caliper.
Measure each feature several times. A single reading may reflect a seam, rough corner, or measurement error.
If all axes show a large, repeatable error, inspect belts, pulleys, and motion settings. If external dimensions look correct but holes print undersized, use the slicer’s hole-compensation feature rather than changing the machine’s global motion values.
Also consider first-layer expansion. Excessive squish can create “elephant’s foot,” making the bottom of a part wider than the model. Correct the Z-offset first, then apply a small first-layer compensation if needed.
Layer height also affects visible detail, curved surfaces, and print time. Our overview of 3D printer layer-height settings offers additional context for choosing a practical balance.
Follow This Calibration Order
Calibration works best in this sequence:
- Inspect and tighten the machine.
- Clean and tram the build plate.
- Set the Z-offset.
- Confirm extruder movement.
- Calibrate material flow.
- Print a temperature tower.
- Tune retraction.
- Test bridging and cooling.
- Check dimensional accuracy.
- Tune advanced motion features.
Save a separate slicer profile for each material and nozzle size. Record the filament brand, temperature, flow ratio, retraction, cooling, and test date.
Most importantly, change only one variable between tests. Otherwise, you will not know which adjustment improved—or damaged—the result.
Recommended Products for 3D Printer Calibration
1. iGaging Absolute Origin Digital Caliper
A reliable caliper helps you measure calibration cubes, holes, walls, filament diameter, and finished functional parts. The iGaging model offers a useful upgrade over basic plastic calipers when dimensional accuracy matters.
2. SOVOL 36-Piece 3D Printer Tool Kit
This kit combines a digital caliper with cutters, files, brushes, tweezers, scrapers, and basic maintenance tools. It is a practical starting option for a new printing workbench.
3. SUNLU S2 Filament Dryer
Moisture can introduce popping, rough surfaces, weak extrusion, and stringing. The SUNLU S2 holds one spool and allows filament to feed out while drying. Always use the drying temperature recommended by the filament producer.
4. ORNITIC 64-Piece 3D Printer Tool Kit
The ORNITIC kit includes nozzle-cleaning needles, brushes, files, cutters, and support-removal tools. It suits users who want a wider selection of maintenance and finishing accessories.
5. ENOMAKER 3D Printer Bed Adhesive
This adhesive can improve grip on compatible build surfaces. However, use it after correcting cleanliness, bed level, and Z-offset. Confirm compatibility because some plates require no adhesive, while PETG may need it mainly as a release layer.
Conclusion
Effective 3D printer calibration is a controlled process, not a collection of random slicer tweaks. Begin with sound hardware and a clean, level build plate. Then tune the first layer, extrusion, temperature, retraction, and dimensional accuracy in that order. Use small test models, keep notes, and adjust one variable at a time. Once you create a dependable baseline profile, future problems become much easier to diagnose—and your printer can deliver cleaner, stronger, and more predictable parts.
FAQs
How frequently does a 3D printer need recalibration?
Recheck 3D printer calibration after moving the printer, replacing a nozzle, adjusting the toolhead, changing build surfaces, updating major firmware settings, or noticing a decline in print quality. A stable printer does not require a complete calibration before every print.
What should I calibrate first?
Start with mechanical inspection, bed tramming, and Z-offset. There is little value in tuning retraction or dimensional compensation when the first layer remains unreliable.
Can automatic bed leveling eliminate manual bed adjustments?
Not always. Automatic leveling maps small surface variations, but it may not correct a loose or severely tilted bed. Mechanically tram the plate first unless the manufacturer specifically instructs otherwise.
Can one 3D printer calibration profile work with every filament?
No. Temperature, flow, cooling, and retraction can vary between materials, brands, colors, and individual spools. Save separate filament profiles and label them clearly.
Why is my calibration cube accurate but other prints are not?
A small cube does not test every printing condition. Larger models introduce longer travel moves, cooling differences, warping, bridges, holes, and sustained high flow. Use several targeted tests instead of judging the entire printer from one cube.